Red, white, and blue Jell-O shots land on the table with the kind of wobble that gets people smiling before they’ve even taken one. The layers stay clean, the colors stay bright, and each cup tastes like a party instead of a sugar bomb. The trick is patience between layers and a light hand when you pour. Rush either part and the stripes blur together fast.
This version works because each layer is handled differently. The red and blue layers get vodka added after the gelatin dissolves in boiling water, which keeps the flavor sharp and the set firm. The white layer uses unflavored gelatin with sweetened condensed milk, which gives it body and opacity without turning chalky. Cooling each layer before adding the next is what keeps those lines crisp.
Below, you’ll find the exact timing that keeps the layers separate, plus the small details that help the shots set neatly in cups instead of sloshing around the edges. If you’ve ever had layered shots bleed together, this is the part that fixes it.
The layers set up cleanly and the blue on top stayed vivid instead of bleeding into the white. I chilled them just like you said and they came out perfect for our Fourth of July party.
Like these patriotic layered Jell-O shots? Save them to Pinterest for the next backyard party when you want clean stripes, cold cups, and an easy make-ahead crowd favorite.
The Layer Line Is What Separates Clean Shots From Pink Mess
The biggest mistake with layered Jell-O shots is pouring the next layer before the one below it has fully set. Even if the surface looks firm, the center can still be soft enough to blend colors the second you add liquid on top. Give each layer the full chill time, then test one cup by tilting it slightly. If it holds its shape without wobbling, it’s ready.
Temperature matters just as much as timing. Hot liquid melts the layer underneath, so each mixture needs to cool before it goes into the cup. You want it cool enough that it won’t damage the set layer, but still liquid enough to pour or spoon smoothly. That balance is what keeps the red, white, and blue bands distinct.
What Each Layer Is Doing in These Jell-O Shots
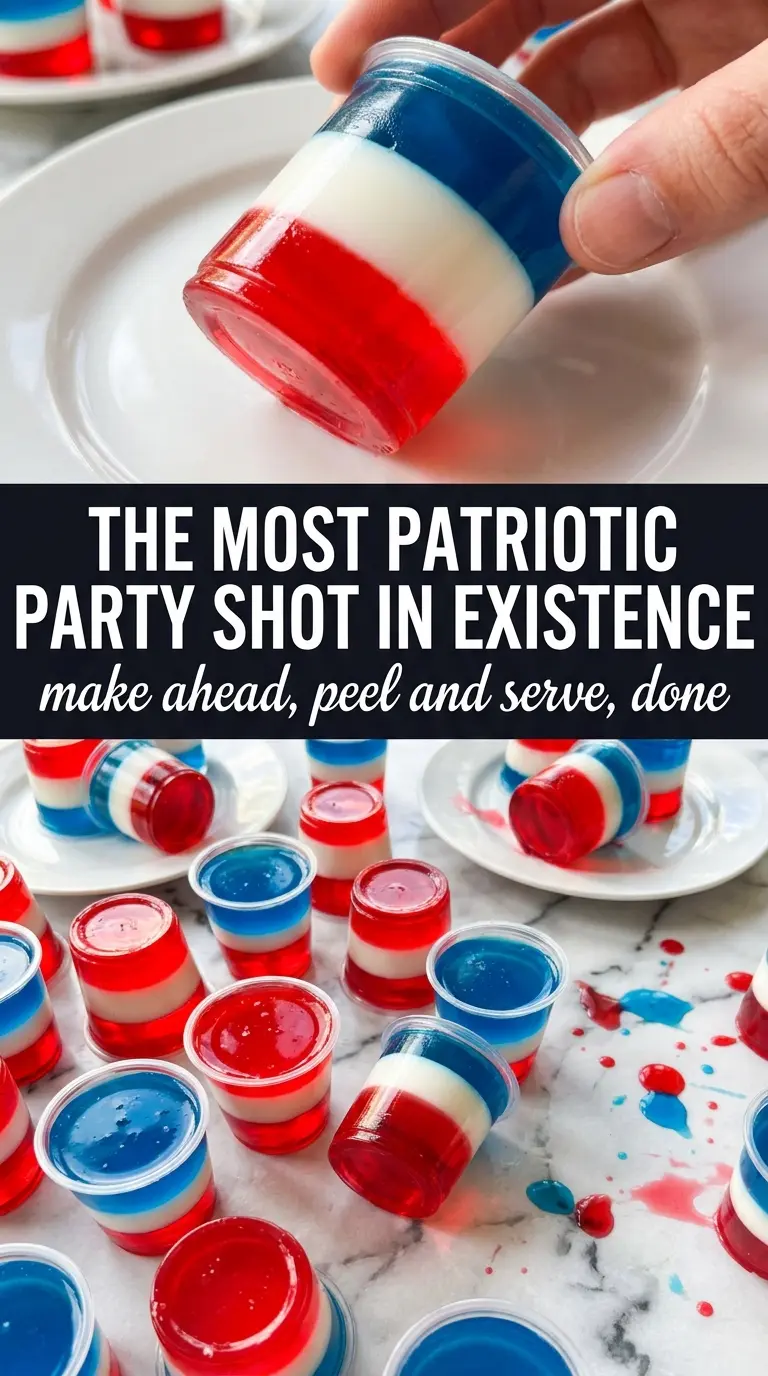
- Cherry or strawberry Jell-O — This gives you the first bright layer and the strongest color payoff. Cherry reads a little more candy-like, while strawberry is softer and slightly less tart. Either one works as long as you dissolve it fully before adding the vodka.
- Berry blue Jell-O — Blue Jell-O is usually the layer people notice first, so use the full box and don’t skimp on the chill time. The color looks best when the mixture is cooled to room temperature before pouring, which keeps the white layer underneath from melting.
- Unflavored gelatin — This is what gives the white layer enough structure to stand up under the blue. A plain cream mixture without gelatin will stay loose and slide around in the cup. Blooming and dissolving it fully is the difference between a clean stripe and a grainy layer.
- Sweetened condensed milk — This brings the white layer’s opaque look and a soft, creamy sweetness that balances the vodka. Regular milk won’t give you the same body or color. If you need a lighter version, evaporated milk can work, but the layer will be thinner and less rich.
- Vodka — Cold vodka helps the mixture cool faster and keeps the finished shots smooth. A plain vodka disappears into the fruit flavors best, but citrus vodka works if you want a brighter finish. Don’t use too much extra alcohol or the shots may stay soft and never set fully.
Building the Layers Without Smearing the Colors
Mix the Red Layer First
Dissolve the red Jell-O in boiling water until the granules are gone and the liquid is clear, not speckled. Stir in the cold vodka, then pour into the cups until they’re about one-third full. If you pour too aggressively, the liquid splashes up the sides and leaves you with uneven layers later, so tilt the cup tray slightly and pour in a thin stream.
Let the First Layer Set All the Way
Refrigerate the red layer until it’s fully firm, not just lightly gelled. The surface should hold when touched and shouldn’t ripple when you shift the tray. If the layer is still soft, the white mixture will sink into it and the stripes will disappear.
Make the Creamy White Middle
Stir the sweetened condensed milk into boiling water, then add the unflavored gelatin and mix until every bit dissolves. Let it cool slightly before adding the cold water, then spoon it gently over the red layer. Spoon it instead of pouring it fast; that slower motion protects the bottom layer and keeps the middle band even.
Finish With the Blue Top
Once the white layer is set, dissolve the blue Jell-O in boiling water, add the cold vodka, and cool it to room temperature before pouring. If it’s still warm, it can melt the white layer and blur the edges. Pour slowly over the back of a spoon if needed, then chill until the cups are fully set and glossy on top.
Three Ways to Change These Shots Without Breaking the Layers
Make Them Non-Alcoholic
Swap the vodka for cold water in both fruit layers and keep the rest of the method the same. The shots will set a little firmer and taste sweeter, more like layered gelatin cups than party shots, but the colors and texture still hold beautifully.
Use Different Colors for Another Holiday
The method works with any color trio, so you can swap in lime, orange, grape, or raspberry Jell-O and keep the white middle. Just match the same liquid ratio and chill each layer fully before adding the next, or the colors will bleed.
Make a Dairy-Free Version
The white layer is the only part that needs changing. Replace the sweetened condensed milk with a dairy-free sweetened condensed milk alternative, but expect a slightly less creamy color and a softer finish. Test one small batch first if you’re serving them for an event, since some substitutes set more loosely.
Storage and Reheating
- Refrigerator: Keep covered in the fridge for up to 3 days. The layers stay intact, though the surface can lose a little of its shine after the first day.
- Freezer: Don’t freeze these. The gelatin texture turns icy and separates when thawed.
- Reheating: No reheating needed. Serve them straight from the refrigerator and keep them chilled until party time, because warm Jell-O shots get soft fast.
Questions I Get Asked About This Recipe
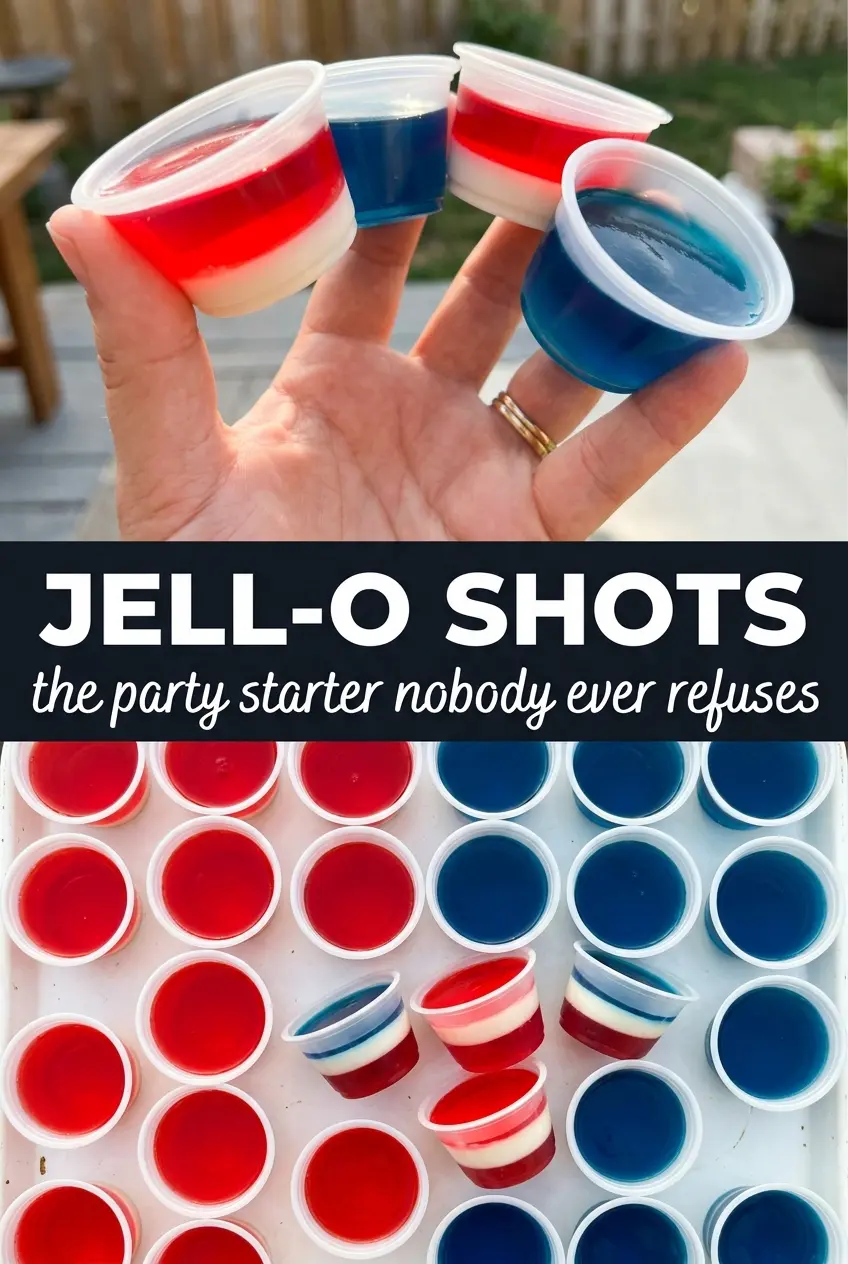
Jell-O Shots
Ingredients
Equipment
Method
- Bring 1 cup boiling water to a boil, then dissolve the cherry or strawberry Jell-O in it and stir for 2 minutes. Mix in 1/2 cup cold vodka, then pour into shot cups to fill one-third of the way for a translucent red base.
- Refrigerate the cups for 45 minutes until the red layer is fully set and looks firm, not sloshy.
- In a bowl, stir together sweetened condensed milk, 1 cup boiling water, and unflavored gelatin until dissolved. Cool slightly, stir in 1/2 cup cold water, and aim for a pourable, glossy texture before topping the set red layer.
- Spoon the white mixture gently over the red layer to avoid mixing colors, creating a clean middle layer. Refrigerate for another 45 minutes until the white layer is set.
- Dissolve the berry blue Jell-O in 1 cup boiling water and stir for 2 minutes to fully hydrate. Mix in 1/2 cup cold vodka, cool to room temperature, and prepare for a smooth, glossy blue pour.
- Gently pour the blue layer over the set white layer, leaving a level top. Refrigerate for at least 1 hour until fully set, then serve cold with visible layers.


