These mini cheesecakes bake up with a creamy center, a neat little cookie crust, and the kind of clean finish that makes them easy to serve at a party without slicing anything. The topping gives each one a bright, fresh bite that balances the richness underneath, so they don’t eat like heavy little bricks the way some mini cheesecakes do.
The trick is a smooth batter and a short bake. Cream cheese that’s fully softened blends without lumps, and adding the eggs one at a time keeps the filling silky instead of overworked. Pull them when the centers still have the tiniest wobble; the chill time finishes the texture without drying them out. A Golden Oreo base gives the best contrast here, but regular Oreos work if you want a deeper chocolate note.
Below you’ll find the small details that matter most: how to keep the tops from cracking, which crust works best in a muffin tin, and what to change if you want to make them a little more festive or a little more make-ahead friendly.
The filling turned out smooth with no cracks, and the Oreo crust held together perfectly in the cupcake liners. I chilled them overnight and the strawberries stayed bright and fresh on top.
Like this red, white and blue mini cheesecakes recipe? Save it to Pinterest for the next party when you want creamy cheesecake, fresh berries, and a cookie crust in one neat little bite.
The Secret to Mini Cheesecakes That Set Cleanly Instead of Sinking
Mini cheesecakes look simple, but the texture depends on a few small choices that keep the filling from puffing too much and collapsing later. The biggest mistake is beating in too much air. That makes the tops rise in the oven, then sink as they cool, which leaves you with little craters instead of smooth crowns.
The second thing that matters is the bake time. These should come out when the centers still have a slight jiggle, not when they look fully firm from edge to middle. The carryover heat finishes the set while they cool in the pan, and that gentle finish is what keeps them creamy instead of grainy.
- Cream cheese — Softened cream cheese is nonnegotiable here. Cold cream cheese leaves tiny lumps that won’t smooth out later, no matter how long you beat it.
- Sour cream — This gives the filling a little tang and helps soften the texture. Full-fat plain Greek yogurt can work in a pinch, but the cheesecake will taste a touch sharper and a little less velvety.
- Golden Oreo cookies — They make a sturdy, sweet crust that doesn’t need extra butter. Regular Oreos work too, but you’ll get a darker, more chocolate-forward base that competes a bit more with the berries.
- Fresh berries — Use fresh strawberries and blueberries if you can. Frozen berries soften and bleed quickly, which makes the tops look wet instead of clean and bright.
What Each Ingredient Is Doing in These Cheesecakes
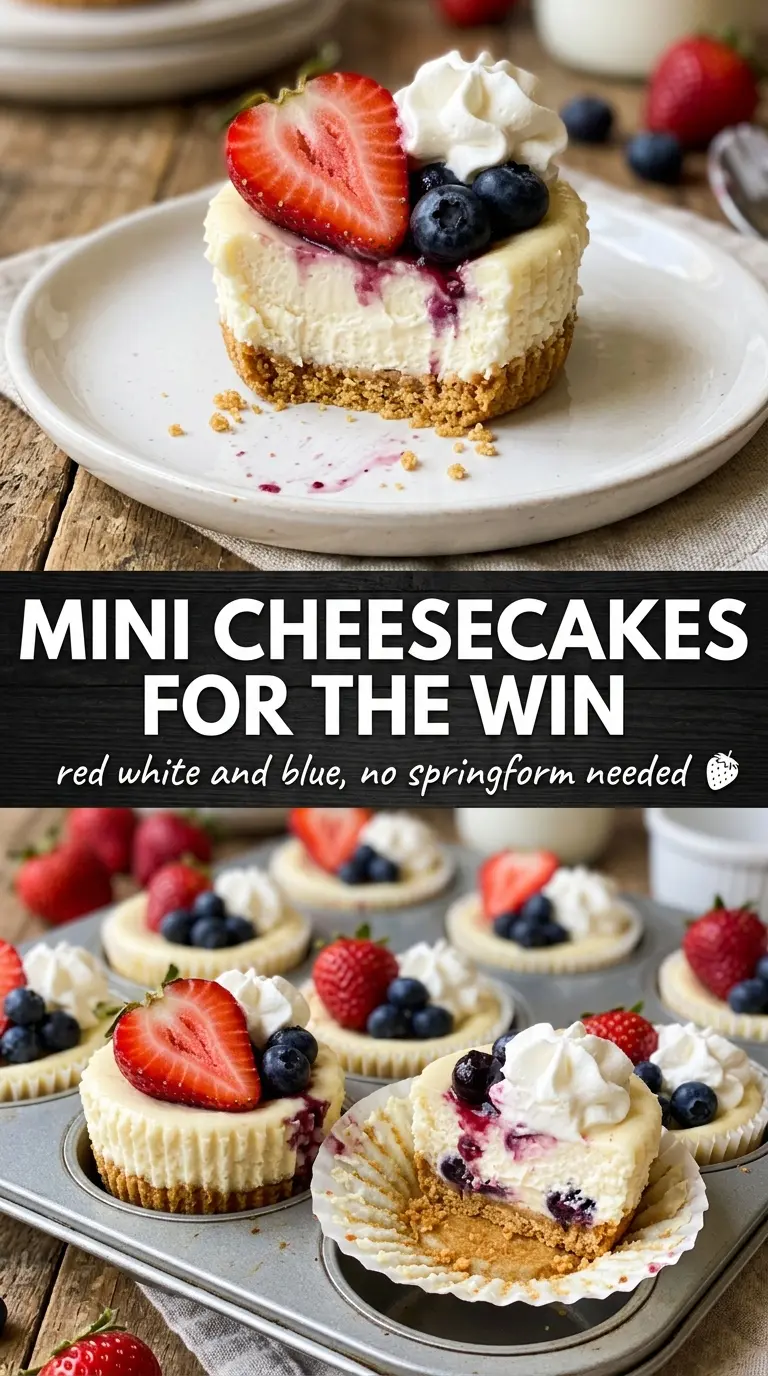
- Crust cookie — One cookie per liner is enough for a thin, sturdy base. If you crush them first and mix with butter, the crust gets softer and loses that neat little snap.
- Sugar — This sweetens the filling and helps the cream cheese whip smooth. Don’t cut it too far or the cheesecake tastes flat and the texture feels less balanced.
- Eggs — Eggs set the cheesecake. Add them one at a time and mix just until blended; overmixing after the eggs go in brings in extra air and makes cracks more likely.
- Vanilla — It rounds out the tang from the cream cheese and sour cream. Use a good vanilla if you have it, since there aren’t many ingredients to hide behind.
- Whipped cream and sprinkles — These are for the finish, not the structure, but they matter for presentation. Add them right before serving so the berries stay fresh and the whipped cream doesn’t slide.
Building the Filling Without Overmixing It
Start with a Truly Smooth Base
Beat the cream cheese and sugar first until the mixture looks glossy and completely uniform, with no pale streaks or little grainy bits around the bowl. If the cream cheese is still cool in the center, it will cling to the beaters and stay lumpy, so give it time on the counter before you start. Scrape the bowl well before moving on.
Add the Eggs One at a Time
Drop in the first egg and mix just until it disappears, then add the second. This keeps the batter dense enough to bake evenly instead of trapping too much air. Once the eggs are in, stop as soon as the batter looks smooth; a fluffy batter is a warning sign, not a goal, for mini cheesecakes.
Watch the Centers, Not the Clock
Spoon the batter over the cookie base and fill each liner about three-quarters full. Bake until the edges are set and the centers still wobble a little when you nudge the pan. If the tops start to brown or crack heavily, the oven is too hot or they’ve stayed in too long, and the final texture will be drier than it should be.
Chill Before You Top
Let the cheesecakes cool in the pan first, then move them to the refrigerator for at least two hours. That chill time firms the filling enough to lift cleanly from the liners and hold the fruit toppings without slumping. If you top them while they’re still warm, the whipped cream softens and the berries slide around.
How to Adapt These Mini Cheesecakes for Different Crowds
Make Them Gluten-Free with the Right Cookie
Use certified gluten-free sandwich cookies or gluten-free vanilla sandwich cookies in place of the Oreos. The filling doesn’t need any other changes, and the texture stays the same; just check that your cookie choice holds its shape well enough to act as the base.
Swap the Berries for a Different Red, White, and Blue Finish
If strawberries aren’t at their best, use raspberries for the red layer and keep the blueberries for the blue. Raspberries are a little softer and tartier, so they give the tops a brighter bite and a less polished look, which works fine if you’re going for a more casual dessert tray.
Go Chocolatey with Regular Oreos
Regular Oreos give the crust a deeper cocoa flavor that pairs nicely with the tangy filling. The finished cheesecake tastes richer and a little less classic-picnic sweet, so it works best if you want the berries to stand out against a darker base.
Storage and Reheating
- Refrigerator: Store covered for up to 4 days. The crust stays crispest on day one, but the filling holds well after chilling.
- Freezer: Freeze the cheesecakes without the toppings for up to 1 month. Wrap them well and thaw overnight in the refrigerator so the texture stays creamy instead of icy.
- Reheating: These are meant to be served cold, so don’t reheat them. The common mistake is trying to warm them to soften the filling, which just makes the cheesecake loose and the toppings wilt.
Questions I Get Asked About This Recipe
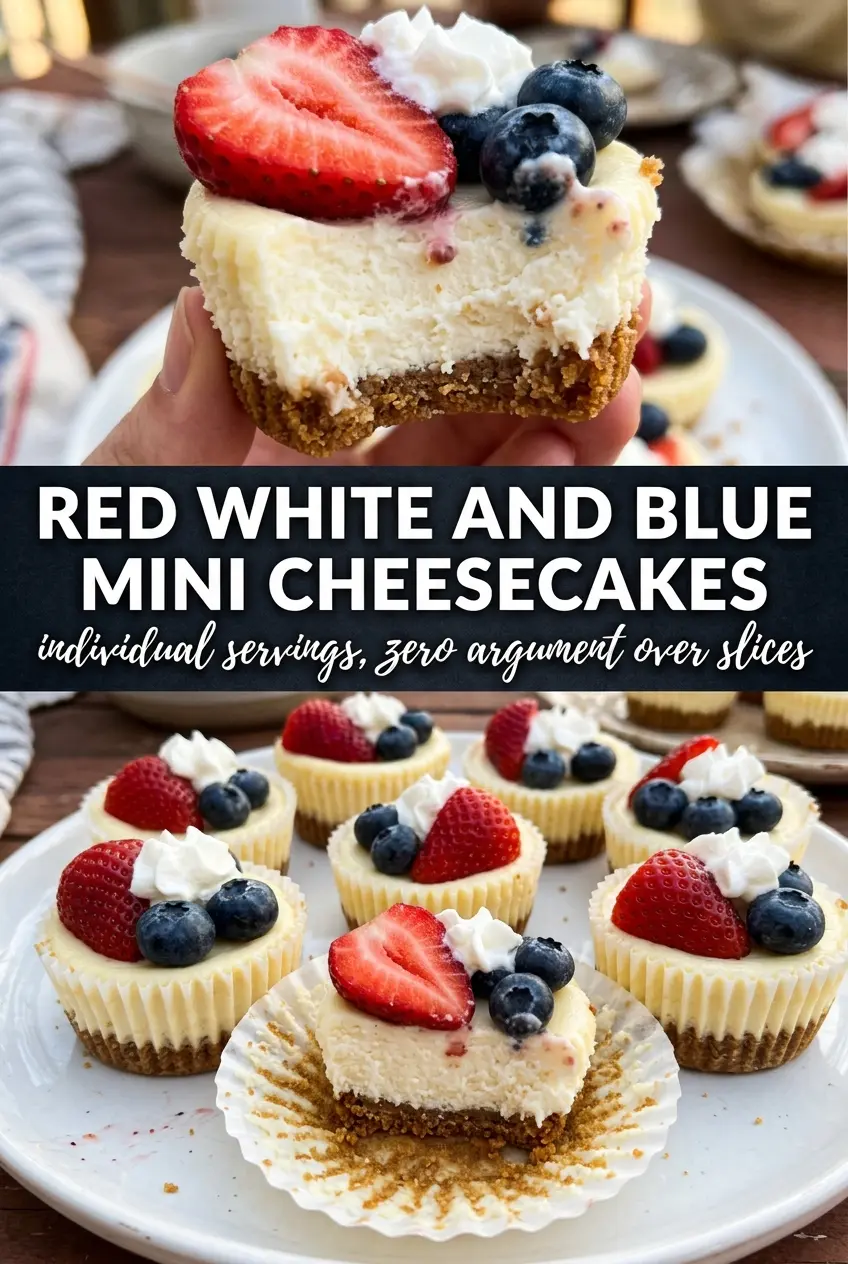
Red, White and Blue Mini Cheesecakes
Ingredients
Equipment
Method
- Preheat the oven to 325°F and line a 12-cup muffin tin with cupcake liners.
- Place one Oreo cookie flat in the bottom of each liner.
- Beat the cream cheese and granulated sugar until smooth.
- Add the eggs one at a time, mixing well after each addition.
- Beat in the vanilla extract and sour cream until the batter is smooth.
- Divide the batter evenly among the 12 cups, filling each about 3/4 full.
- Bake for 18–20 minutes at 325°F until the centers are just barely set.
- Cool the mini cheesecakes in the pan for 30 minutes.
- Refrigerate for at least 2 hours to fully chill and set.
- Right before serving, top each mini cheesecake with a swirl of whipped cream.
- Add a strawberry slice, a few blueberries, and a pinch of red and blue sprinkles to each cheesecake.


