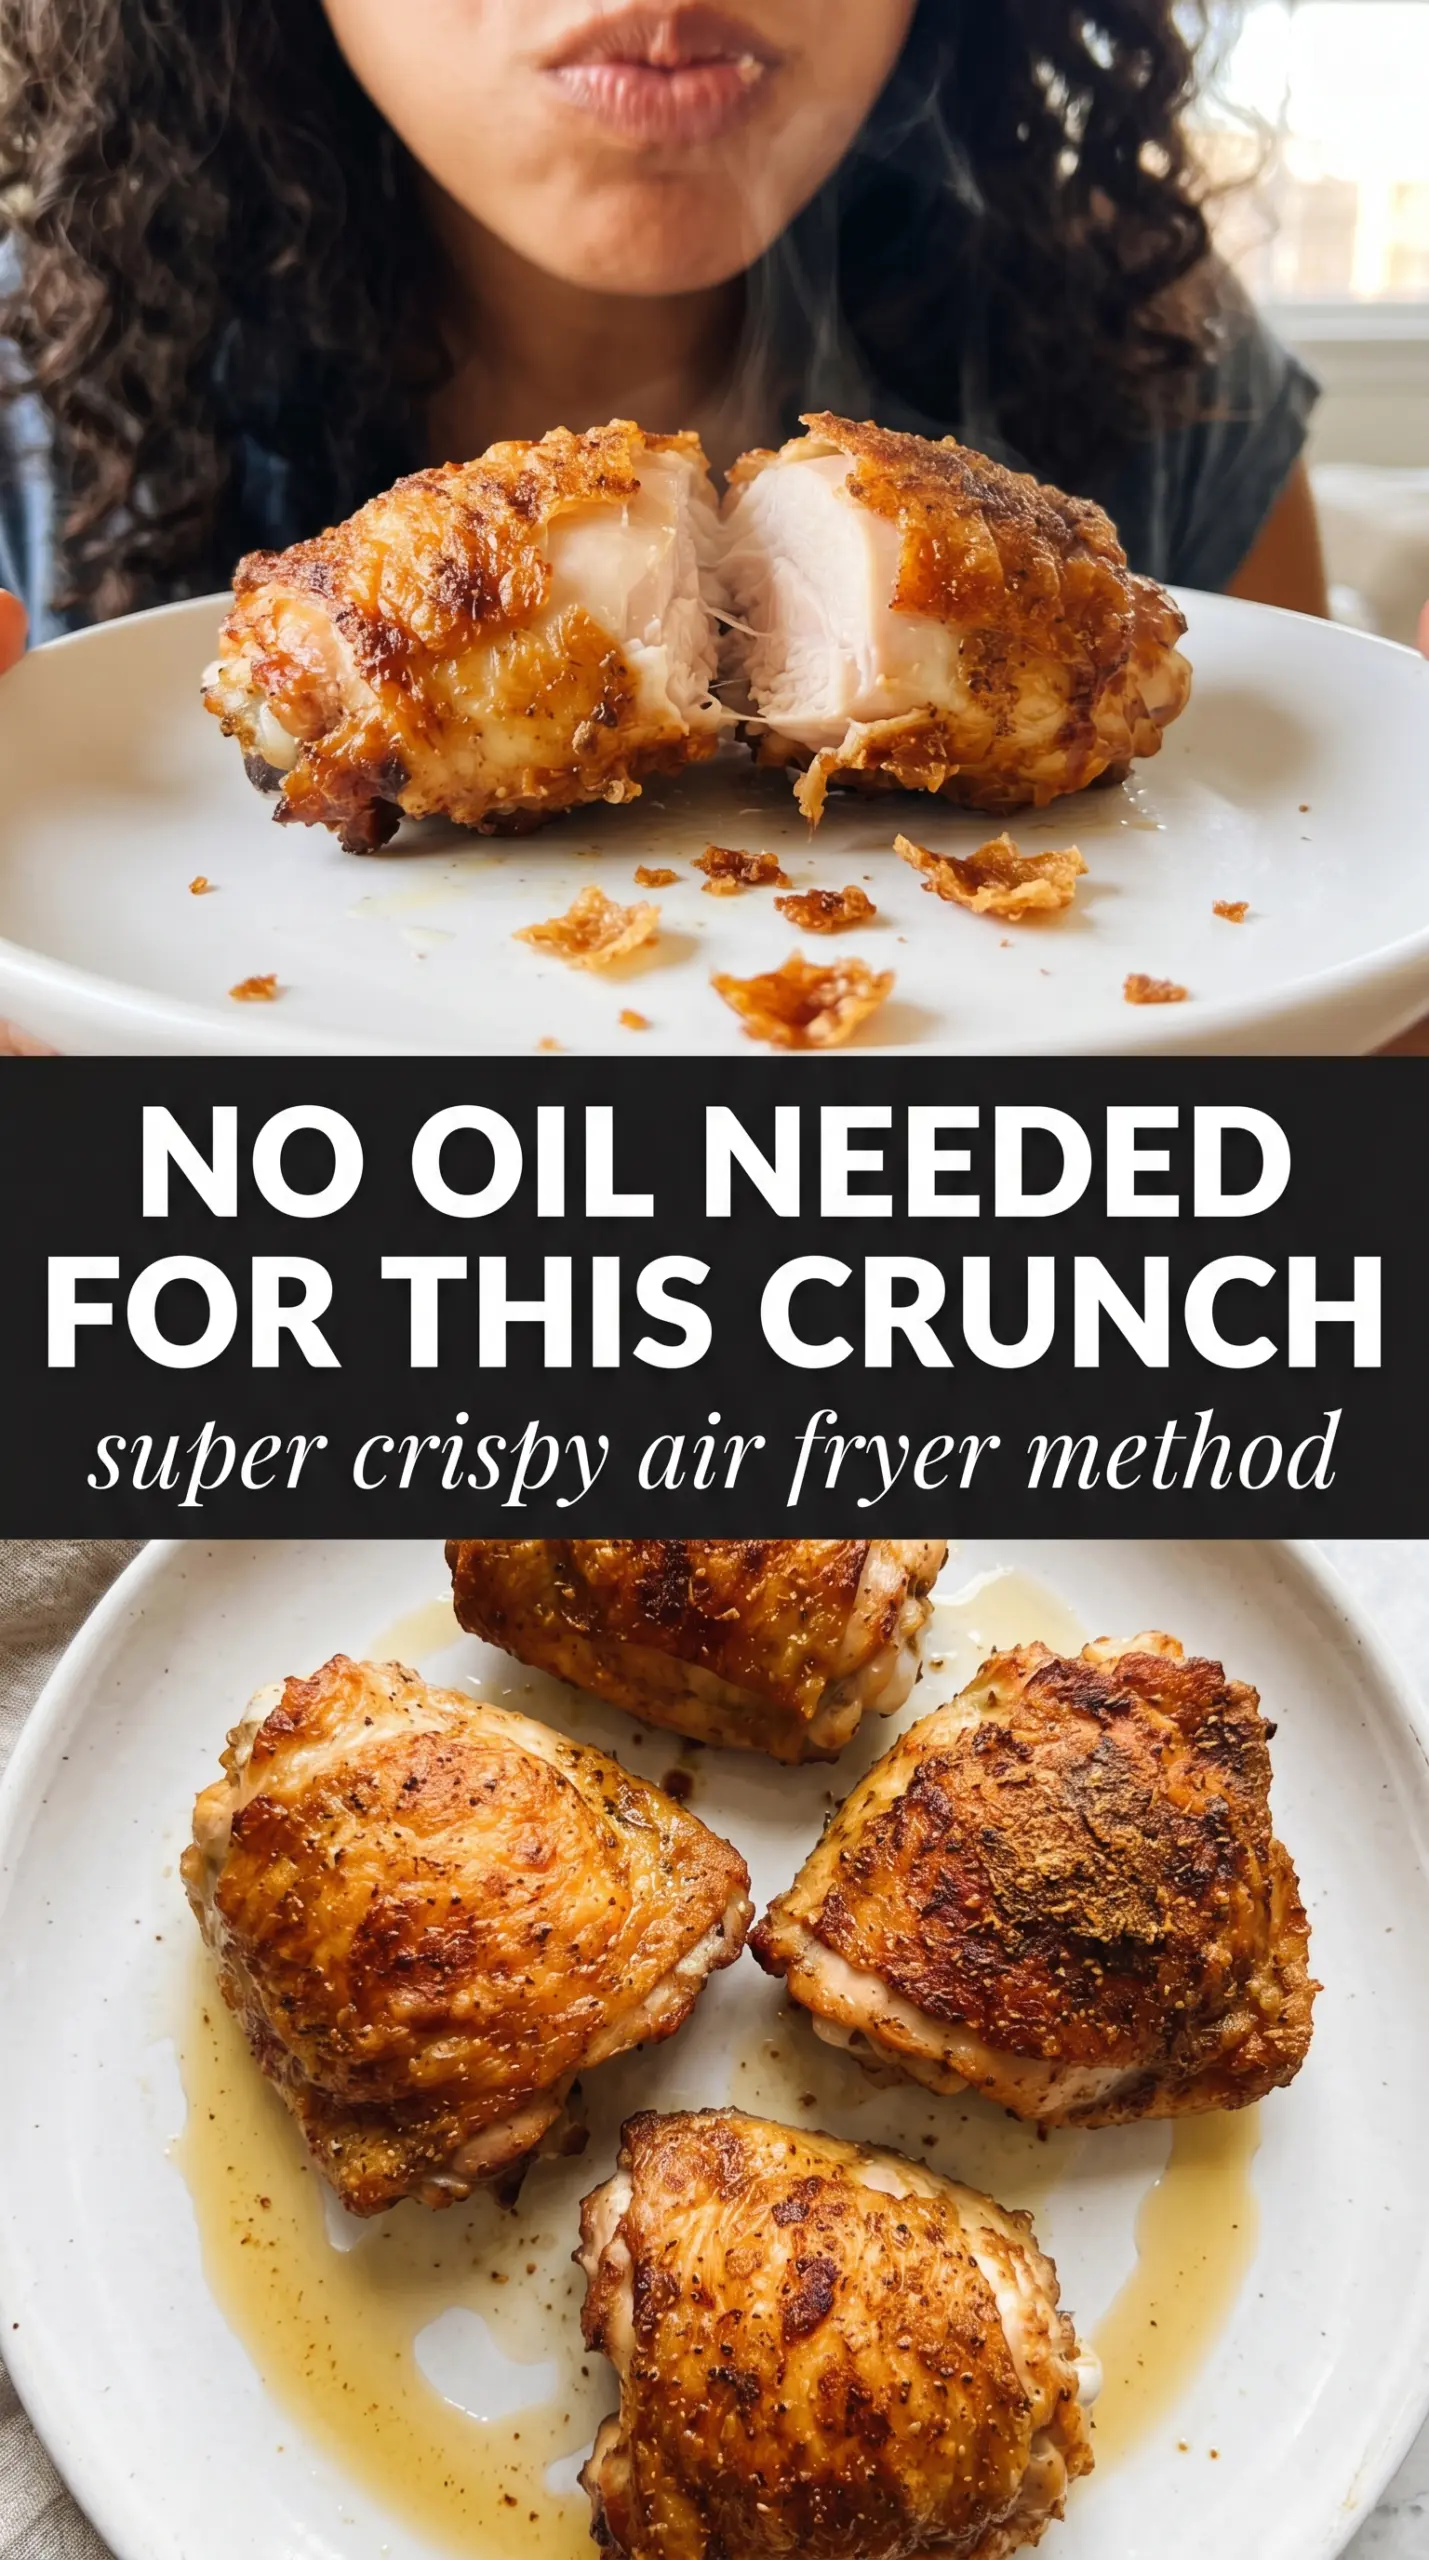
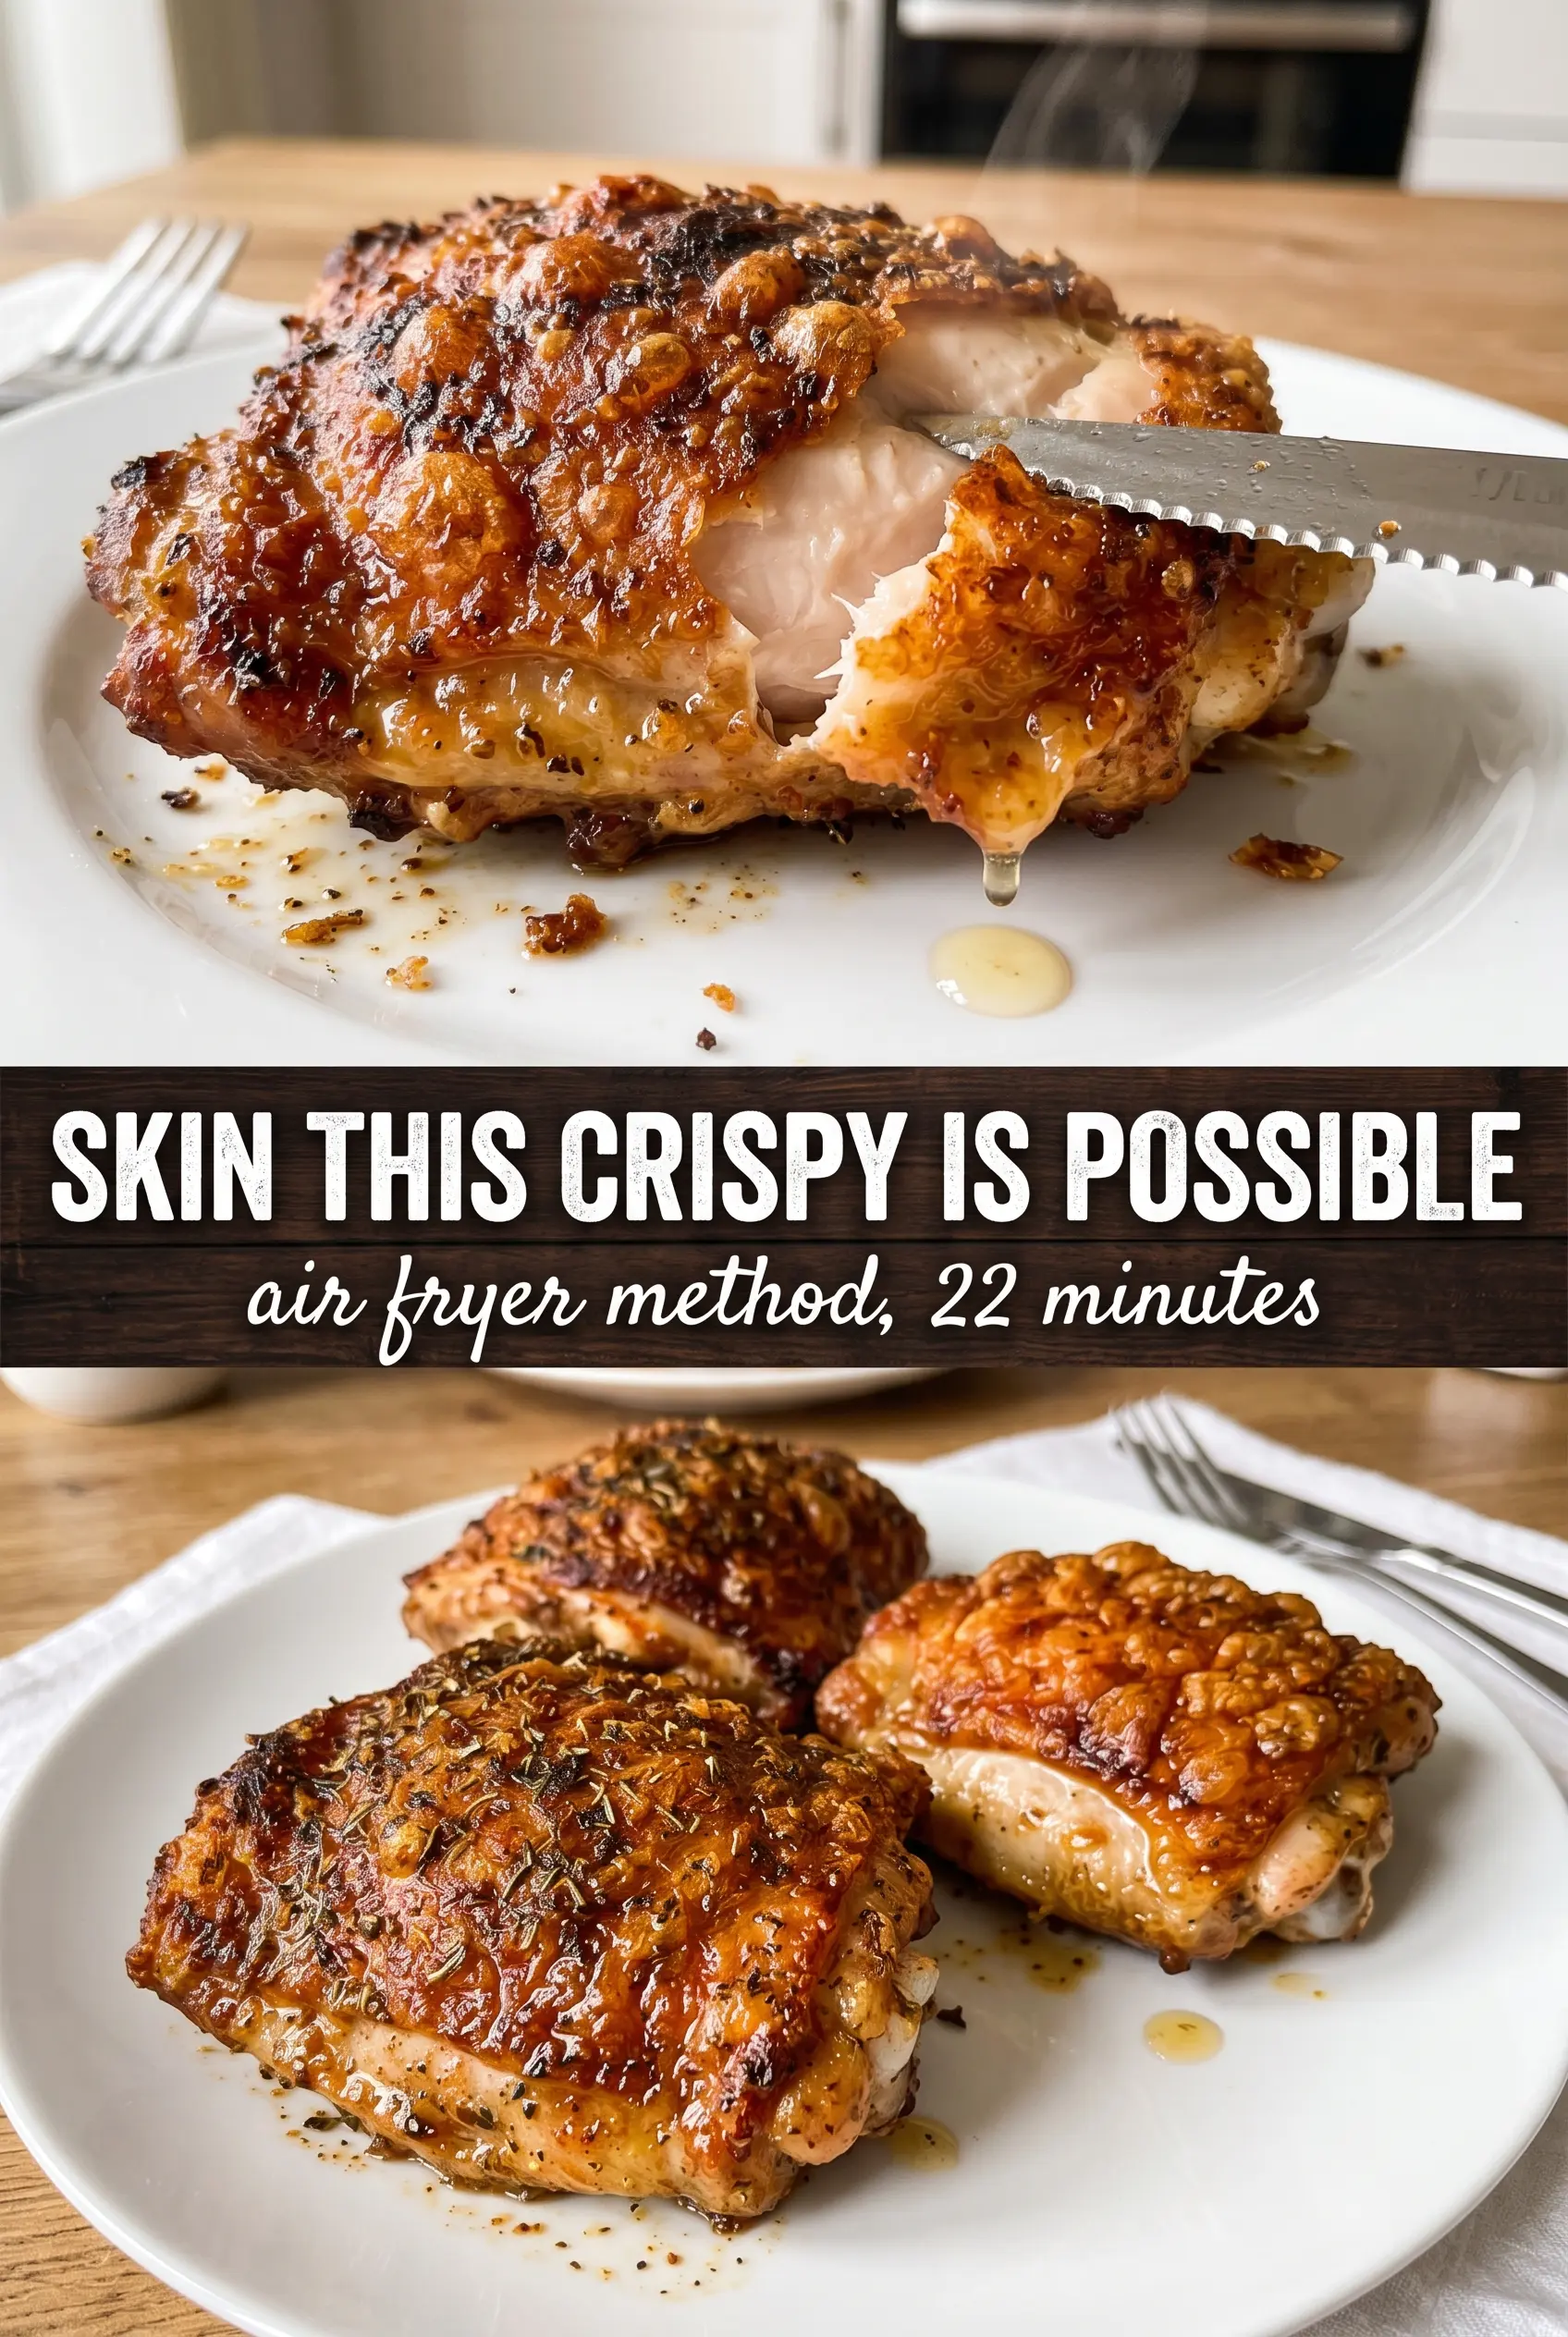
Shatteringly crisp chicken skin is the whole point here, and the air fryer earns its keep by delivering that fried-chicken crunch without a vat of oil. These thighs come out with deeply browned, lacquered skin and juicy meat underneath, the kind of result that makes dinner feel a little more exciting than the usual weeknight rotation.
The baking powder is doing more than people think. It raises the skin’s surface pH, helps it dry out faster, and gives the fat under the skin a head start rendering, which is why the crust gets so crisp instead of staying rubbery. Patting the chicken dry matters just as much. If the skin starts damp, the seasoning turns pasty and the air fryer has to steam off that moisture before it can do any real crisping.
Below you’ll find the timing that gives the skin its best shot at turning crunchy all the way across, plus the one small resting step that keeps the crust from softening the second it comes out of the basket.
The skin turned out crackly all over, and the baking powder gave it that fried-chicken crunch I never get in the oven. My husband kept saying he couldn’t believe it came from the air fryer.
Save these super crispy air fryer chicken thighs for the nights when you want crackly skin, juicy meat, and a fast dinner with almost no cleanup.
Why the Skin Goes Crispy Instead of Steaming
The biggest mistake with air fryer chicken thighs is crowding them or starting with wet skin. Both create steam, and steam is the enemy of crunch. This recipe leans on bone-in, skin-on thighs because they have enough fat to baste themselves as they cook, and the skin has the structure needed to turn shatteringly crisp instead of just browned.
Starting skin-side down first sounds backward, but it helps render some of the fat out before the final crisp-up. Once you flip them, the skin gets blasted by direct hot air and dries into that deep golden crust. If your chicken ever comes out leathery, it usually means the skin didn’t dry enough before cooking or the basket was too packed for air to move freely.
- Bone-in, skin-on chicken thighs — These give you the juiciest meat and the best skin texture. Boneless thighs cook faster, but they won’t develop the same crisp, crackly finish.
- Baking powder — This is the ingredient that changes the texture. Use aluminum-free if that’s what you keep, and don’t swap it for baking soda; baking soda tastes harsh and can leave the skin oddly dark.
- Olive oil — Just enough to help the spices cling and encourage even browning. You don’t need much because the chicken skin already has plenty of fat to render.
- Smoked paprika and garlic powder — These add depth without forming a wet paste. Fresh garlic isn’t a good swap here because it can burn before the skin crisps.
What Each Ingredient Is Actually Doing in This Chicken Dish
- Chicken (pat dry for browning) — Room temperature cooks more evenly. Even pieces ensure uniform doneness.
- Oil or butter (the browning medium) — High-heat oil essential for proper searing. Creates pan flavor.
- Seasonings (salt, pepper, spices) — Apply generously. Chicken carries the entire flavor profile.
- Aromatics (garlic, ginger, herbs) — Cook with fat to bloom flavors. Become the foundation.
- Sauce or braising liquid (if using) — This keeps chicken moist. Balance richness with acid.
- Vegetables (if using) — Layer by cooking time so everything finishes together.
- Acid (vinegar, wine, lime, or pineapple) — This brightens and prevents one-dimensional flavor.
- Proper doneness (165°F internal temperature) — Use thermometer for accuracy. Overcooked is dry.
The 22 Minutes That Turn Chicken Skin Crackly
Drying the Chicken First
Pat the thighs completely dry with paper towels, including under any loose flap of skin. This is the step that decides whether the seasoning sticks and whether the skin crisps or steams. If the surface still feels slick, keep blotting until it feels tacky and dry. The chicken should look matte, not glossy.
Coating With the Crisping Rub
Mix the baking powder with the spices before rubbing it over the chicken so it distributes evenly. Use your hands and work it into every crease, especially around the edges of the skin. The coating should look thin and dusty, not thick or wet. Too much oil at this point will create a paste that slows down browning.
Air Frying for Rendered Fat and Browning
Preheat the air fryer to 400F so the chicken starts cooking immediately when it hits the basket. Lay the thighs skin-side down for the first 10 minutes to help the fat render and the skin tighten. Then flip them skin-side up and cook 12 to 14 minutes more, until the skin is deeply golden and the thickest part of the meat reaches 165F. If the skin is getting dark before the chicken is done, reduce the time in 2-minute checks and use the thermometer as your guide.
The Rest That Keeps the Crust Loud
Let the chicken rest for 5 minutes before serving. That short pause lets the juices settle back into the meat, and the skin keeps crisping as the residual heat works through the surface. If you cut too early, the juices run out and the crust softens on the plate. Finish with lemon and parsley for a bright hit that cuts through the richness.
How to Adapt These Crispy Thighs Without Losing the Crunch
Dairy-Free and Naturally Gluten-Free
This recipe is already dairy-free and gluten-free as written, which is part of why it works so well. Just keep an eye on your baking powder label if you need strict gluten-free cooking, and stick with simple spices instead of seasoned blends that can hide starches or sugar.
Boneless Thighs Instead of Bone-In
Boneless thighs work if that’s what you have, but they cook faster and won’t stay as juicy. Start checking them about 6 to 8 minutes earlier, and expect the skin to crisp less dramatically because there’s less fat and structure under it.
A Different Spice Direction
Swap the smoked paprika for cayenne if you want heat, or use thyme and lemon zest for a brighter, more herb-forward version. Keep the baking powder exactly the same, because that’s the part that changes the skin texture; the spices only change the seasoning.
Storage and Reheating
- Refrigerator: Store for up to 4 days. The skin will soften in the fridge, but the chicken stays juicy.
- Freezer: Freeze cooked thighs for up to 2 months, wrapped tightly. The skin won’t come back as crisp after freezing, but the meat holds up well.
- Reheating: Reheat in the air fryer at 375F for 5 to 7 minutes until hot and the skin re-crisps. The biggest mistake is using the microwave first, which turns the skin rubbery before the air fryer gets a chance to fix it.
Questions I Get Asked About This Recipe
Super Crispy Air Fryer Chicken Thighs
Ingredients
Equipment
Method
- Pat the chicken thighs completely dry to remove surface moisture for better crisping. The drier the skin, the crunchier the final texture will be.
- Rub olive oil over the thighs, then mix baking powder with garlic powder, smoked paprika, onion powder, salt, and black pepper. Rub the spice mixture thoroughly all over the chicken, fully coating the skin and edges.
- Preheat the air fryer to 400°F. Wait until it’s fully heated so the skin starts crisping immediately.
- Place the chicken skin-side down in the air fryer in a single layer. Air fry for 10 minutes, then look for early browning along the skin edges.
- Flip the thighs skin-side up and continue air frying. Air fry for 12–14 more minutes until the skin is deeply golden and incredibly crispy, and the internal temperature reaches 165°F.
- Rest the chicken for 5 minutes before serving. The skin will continue to crisp as it rests, and juices settle for easier cutting.


