Crunchy chips, seasoned taco meat, cold lettuce, and melted cheese all piled into a single bag make this the kind of lunch that gets eaten fast and remembered later. Taco salad in a bag has the fun of a walking taco with less mess than a plateful of toppings, and the best version keeps every layer distinct until the fork goes in.
The key is building from hot to cold in the right order. Warm taco meat goes in first so it softens the chips just enough at the bottom without turning the whole bag soggy, then the lettuce and cheese stay crisp on top. I like using Doritos when I want bold flavor and Fritos when I want a sturdier corn-chip base that holds up a little longer.
Below, I’m sharing the layering order that keeps the bags from collapsing, plus a few practical swaps for camping, make-ahead lunches, and crowd-size serving.
I loved how the hot taco meat stayed at the bottom without making the chips mushy right away. We ate these at a campsite, and the bags held up perfectly with just a fork and no extra dishes.
Like these crunchy Taco Salad In A Bag layers? Save it to Pinterest for camping lunches, quick dinners, and no-plate taco nights.
The Secret to Keeping the Chips Crunchy Under the Taco Toppings
The part that goes wrong most often is moisture. Once lettuce, salsa, and sour cream sit against the chips for too long, the bag turns limp from the bottom up. This recipe avoids that by keeping the wet toppings on top and adding them right before eating, which gives you that first-bite crunch instead of a soggy handful.
The other thing worth paying attention to is the meat. It should be fully cooked and well drained before it goes into the bag. If there’s extra grease in the pan, it ends up pooling at the bottom and softening the chips faster than the toppings ever will.
What Each Layer Is Actually Doing in the Bag
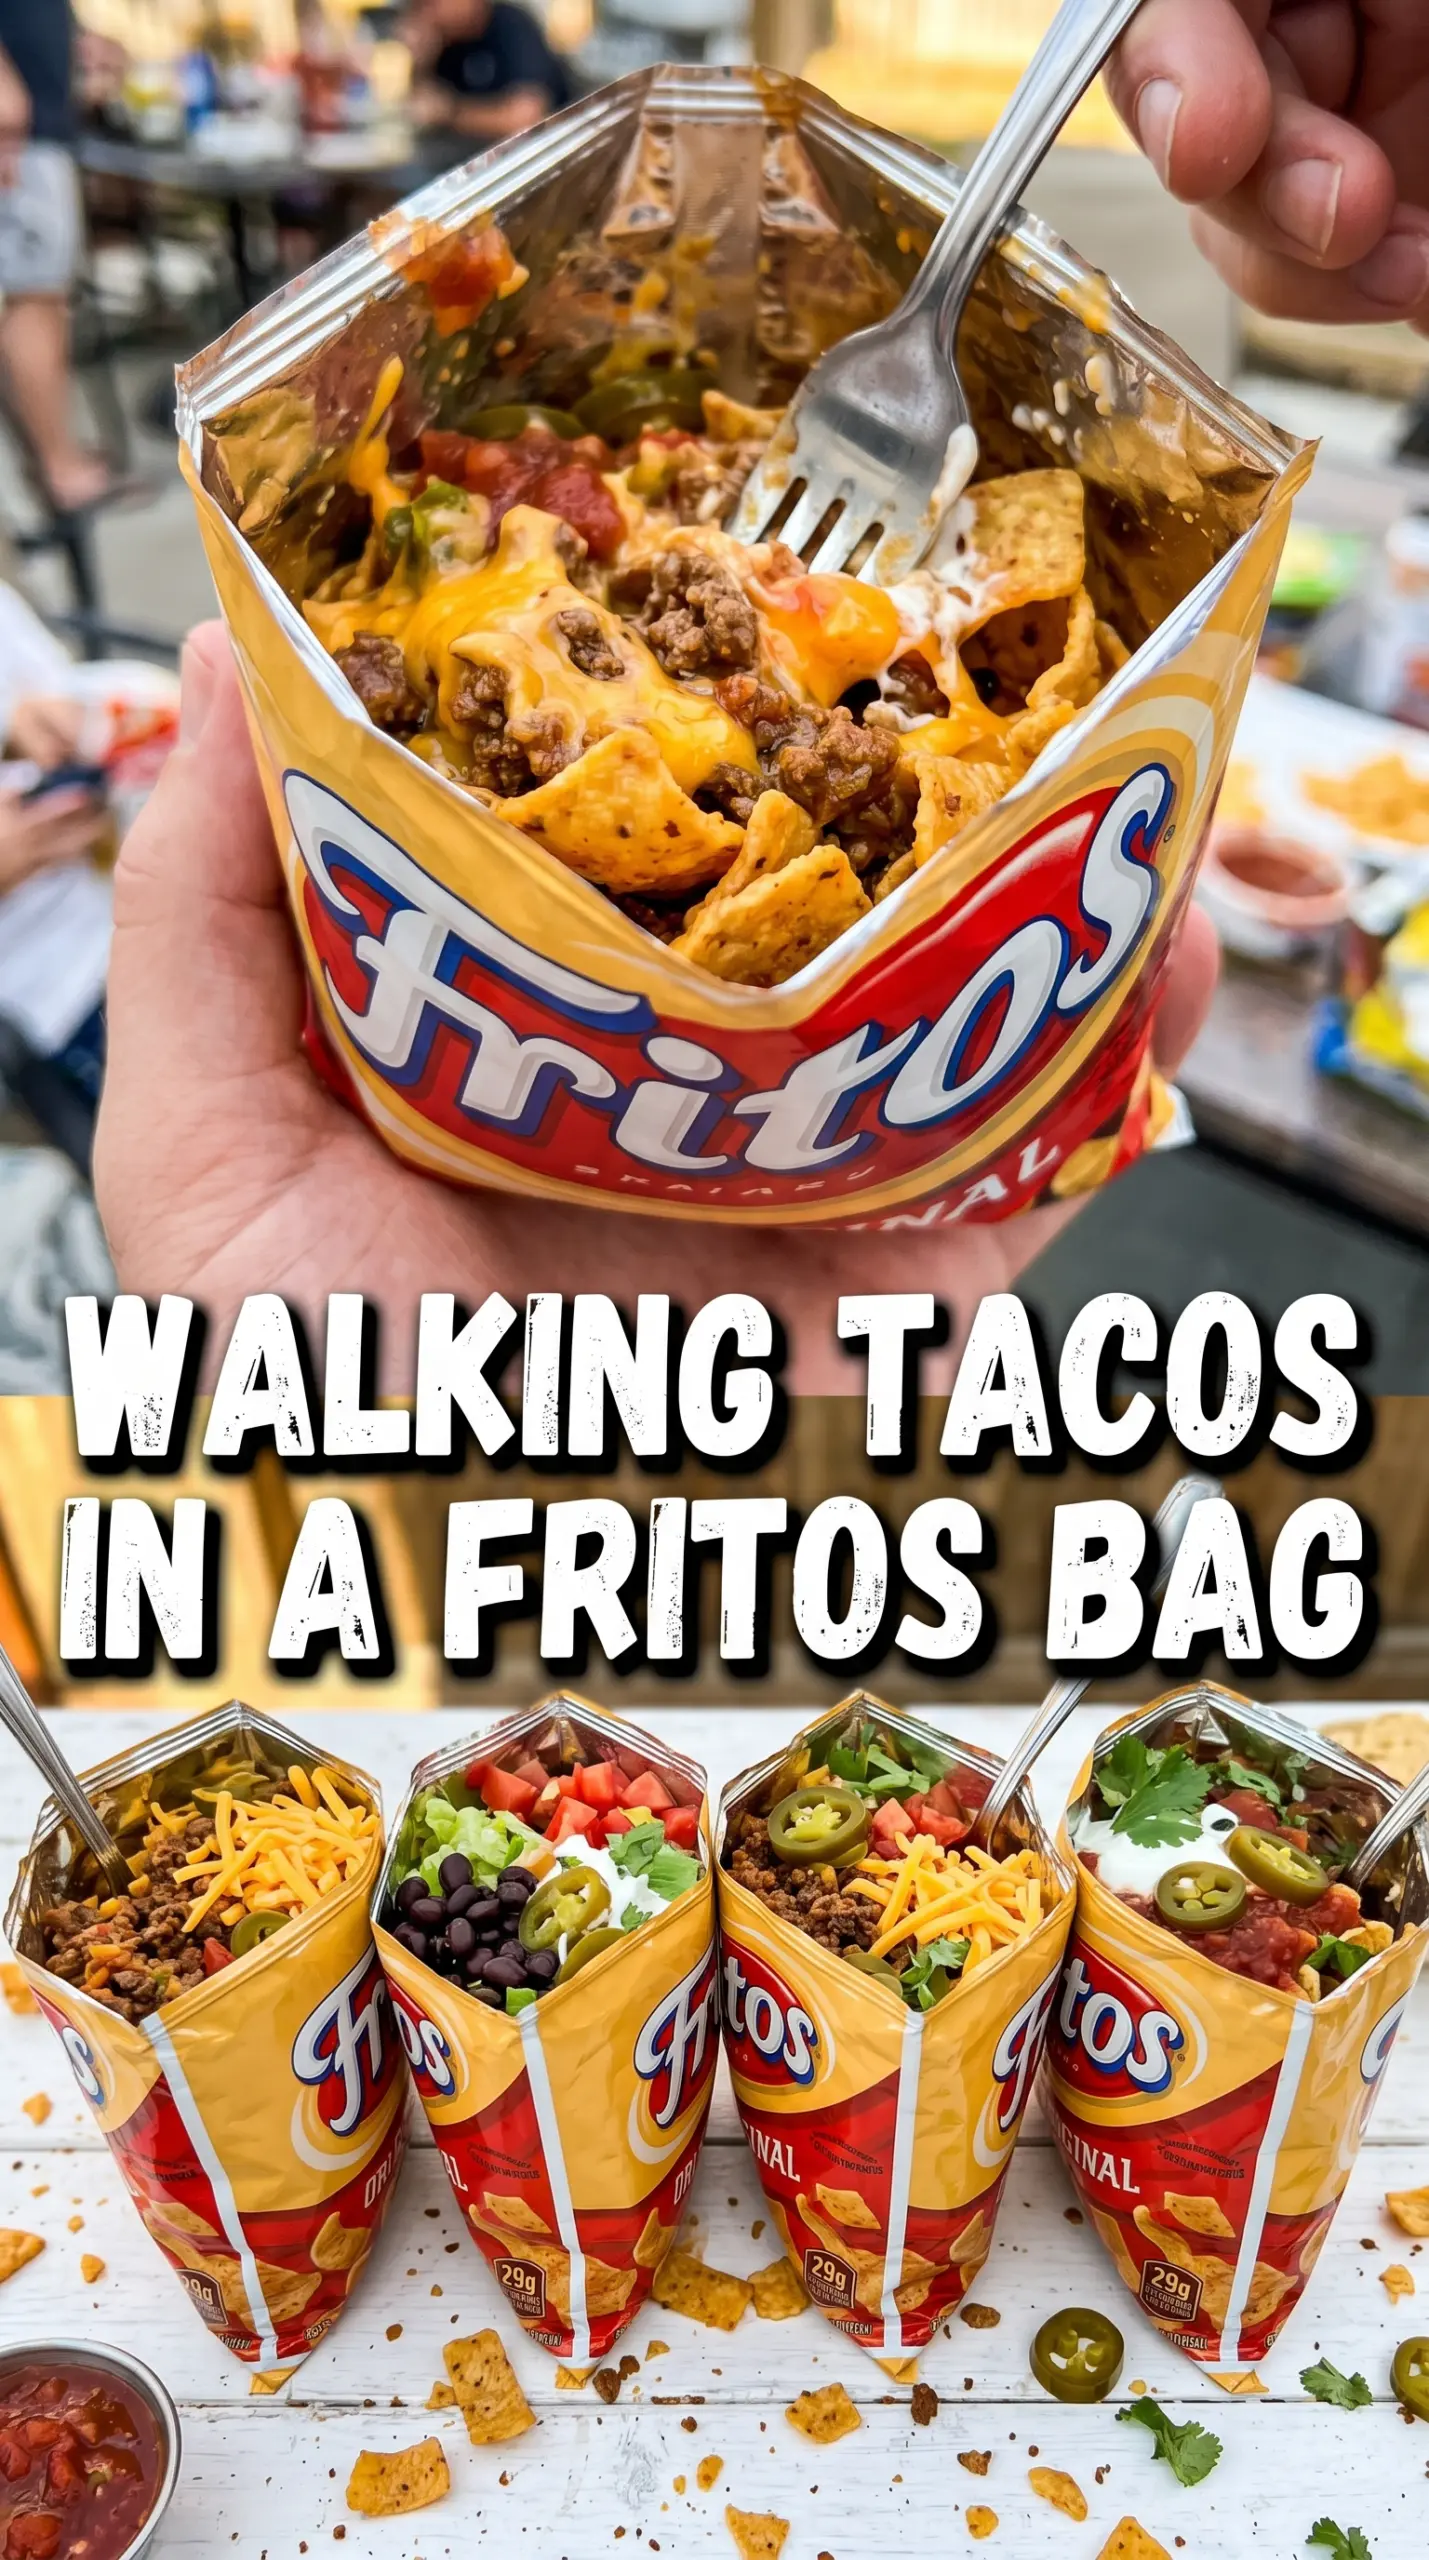
- Doritos or Fritos — The chip bag is the bowl, so the chip choice matters. Doritos bring bold seasoning that leans into the taco flavor, while Fritos give you a sturdier corn-chip crunch that holds up a little longer. Use individual single-serve bags, not a big bag you’ve already opened, or the chips will break down before you’re done assembling.
- Ground beef — This is the anchor of the whole thing. Taco seasoning clings best when the beef is browned and drained first, then simmered just long enough for the spices to coat every bit. If you’re using a leaner ground beef, add a splash of water after seasoning so the meat doesn’t turn dry and crumbly.
- Lettuce and tomatoes — These need to stay dry and cold. Shred the lettuce small enough to fit a forkful easily, and seed watery tomatoes if yours are especially juicy. That keeps the bag from getting wet before the first bite.
- Sour cream and salsa — These are the final layer for a reason. They belong on top where they can sit over the chips instead of soaking in immediately. Thick salsa works better here than a thin, watery one.
- Black olives — These add a salty finish without much extra prep. Slice them so they scatter evenly instead of clumping in one spot.
How to Layer a Walking Taco So the Bottom Doesn’t Turn to Mush
Brown and Season the Meat First
Cook the ground beef until it’s no longer pink and you can see real browning on the bottom of the skillet. That browning is where the flavor lives. Drain off excess grease, then stir in the taco seasoning with the amount of water your packet calls for, letting it simmer until the meat looks saucy but not soupy. If the filling is watery, the chips soften almost immediately.
Open the Bags Without Ripping Them Apart
Cut along the top edge or one side of each chip bag, leaving enough of the bag intact to hold the toppings upright. You want an opening wide enough for a spoon, but not so wide that the chips spill all over the table. Set the bags in a muffin tin, a shallow bowl, or a tray so they stay open while you fill them.
Build from Heaviest to Lightest
Spoon in the taco meat first, then lettuce and cheese, then tomatoes, sour cream, salsa, and olives. The order matters because the warm filling belongs closest to the chips and the cold, wet toppings belong on top where they can stay separate a little longer. If you pack the salsa deep inside, the whole bag starts losing crunch before anyone gets a bite.
Serve Right Away
This is not a dish to let sit around. Once the toppings are in, hand out forks and eat immediately so the chips stay crisp around the edges and only soften slightly where the meat touches them. That mix of crunchy and lightly seasoned chips is what makes the whole thing work.
Make It Vegetarian with Seasoned Beans
Swap the ground beef for drained black beans or pinto beans simmered with taco seasoning. You’ll lose the browned, meaty texture, but you’ll keep the same bold taco flavor and cut the prep down even more. Mash a few beans lightly in the pan so the filling grabs onto the chips instead of sliding around.
Turn It Into a Dairy-Free Bag Lunch
Skip the cheese and sour cream, then add extra salsa or a spoonful of dairy-free crema if you like a creamy finish. The bag still eats well because the crunch comes from the chips and lettuce, not the dairy. I’d add avocado right before serving if you want a richer topping.
Use Fritos for Camping or Long Carry Time
Fritos hold up a little better than thinner chips, which makes them a smart choice for camping lunches or any time the bags need to sit in a cooler before serving. They give you a stronger corn flavor and a sturdier bite, though they’re less flashy than Doritos. If the bag has to travel, Fritos are the safer move.
Storage and Reheating
- Refrigerator: Store the taco meat separately for up to 4 days. The assembled bags don’t keep well because the chips lose their crunch fast.
- Freezer: The seasoned beef freezes well for up to 2 months. Freeze it flat in a sealed bag or container, then thaw before reheating.
- Reheating: Reheat the beef in a skillet or microwave until steaming hot, then build fresh bags. Don’t reheat the entire assembled salad; the chips go stale and the lettuce wilts.
Answers to the Questions Worth Asking
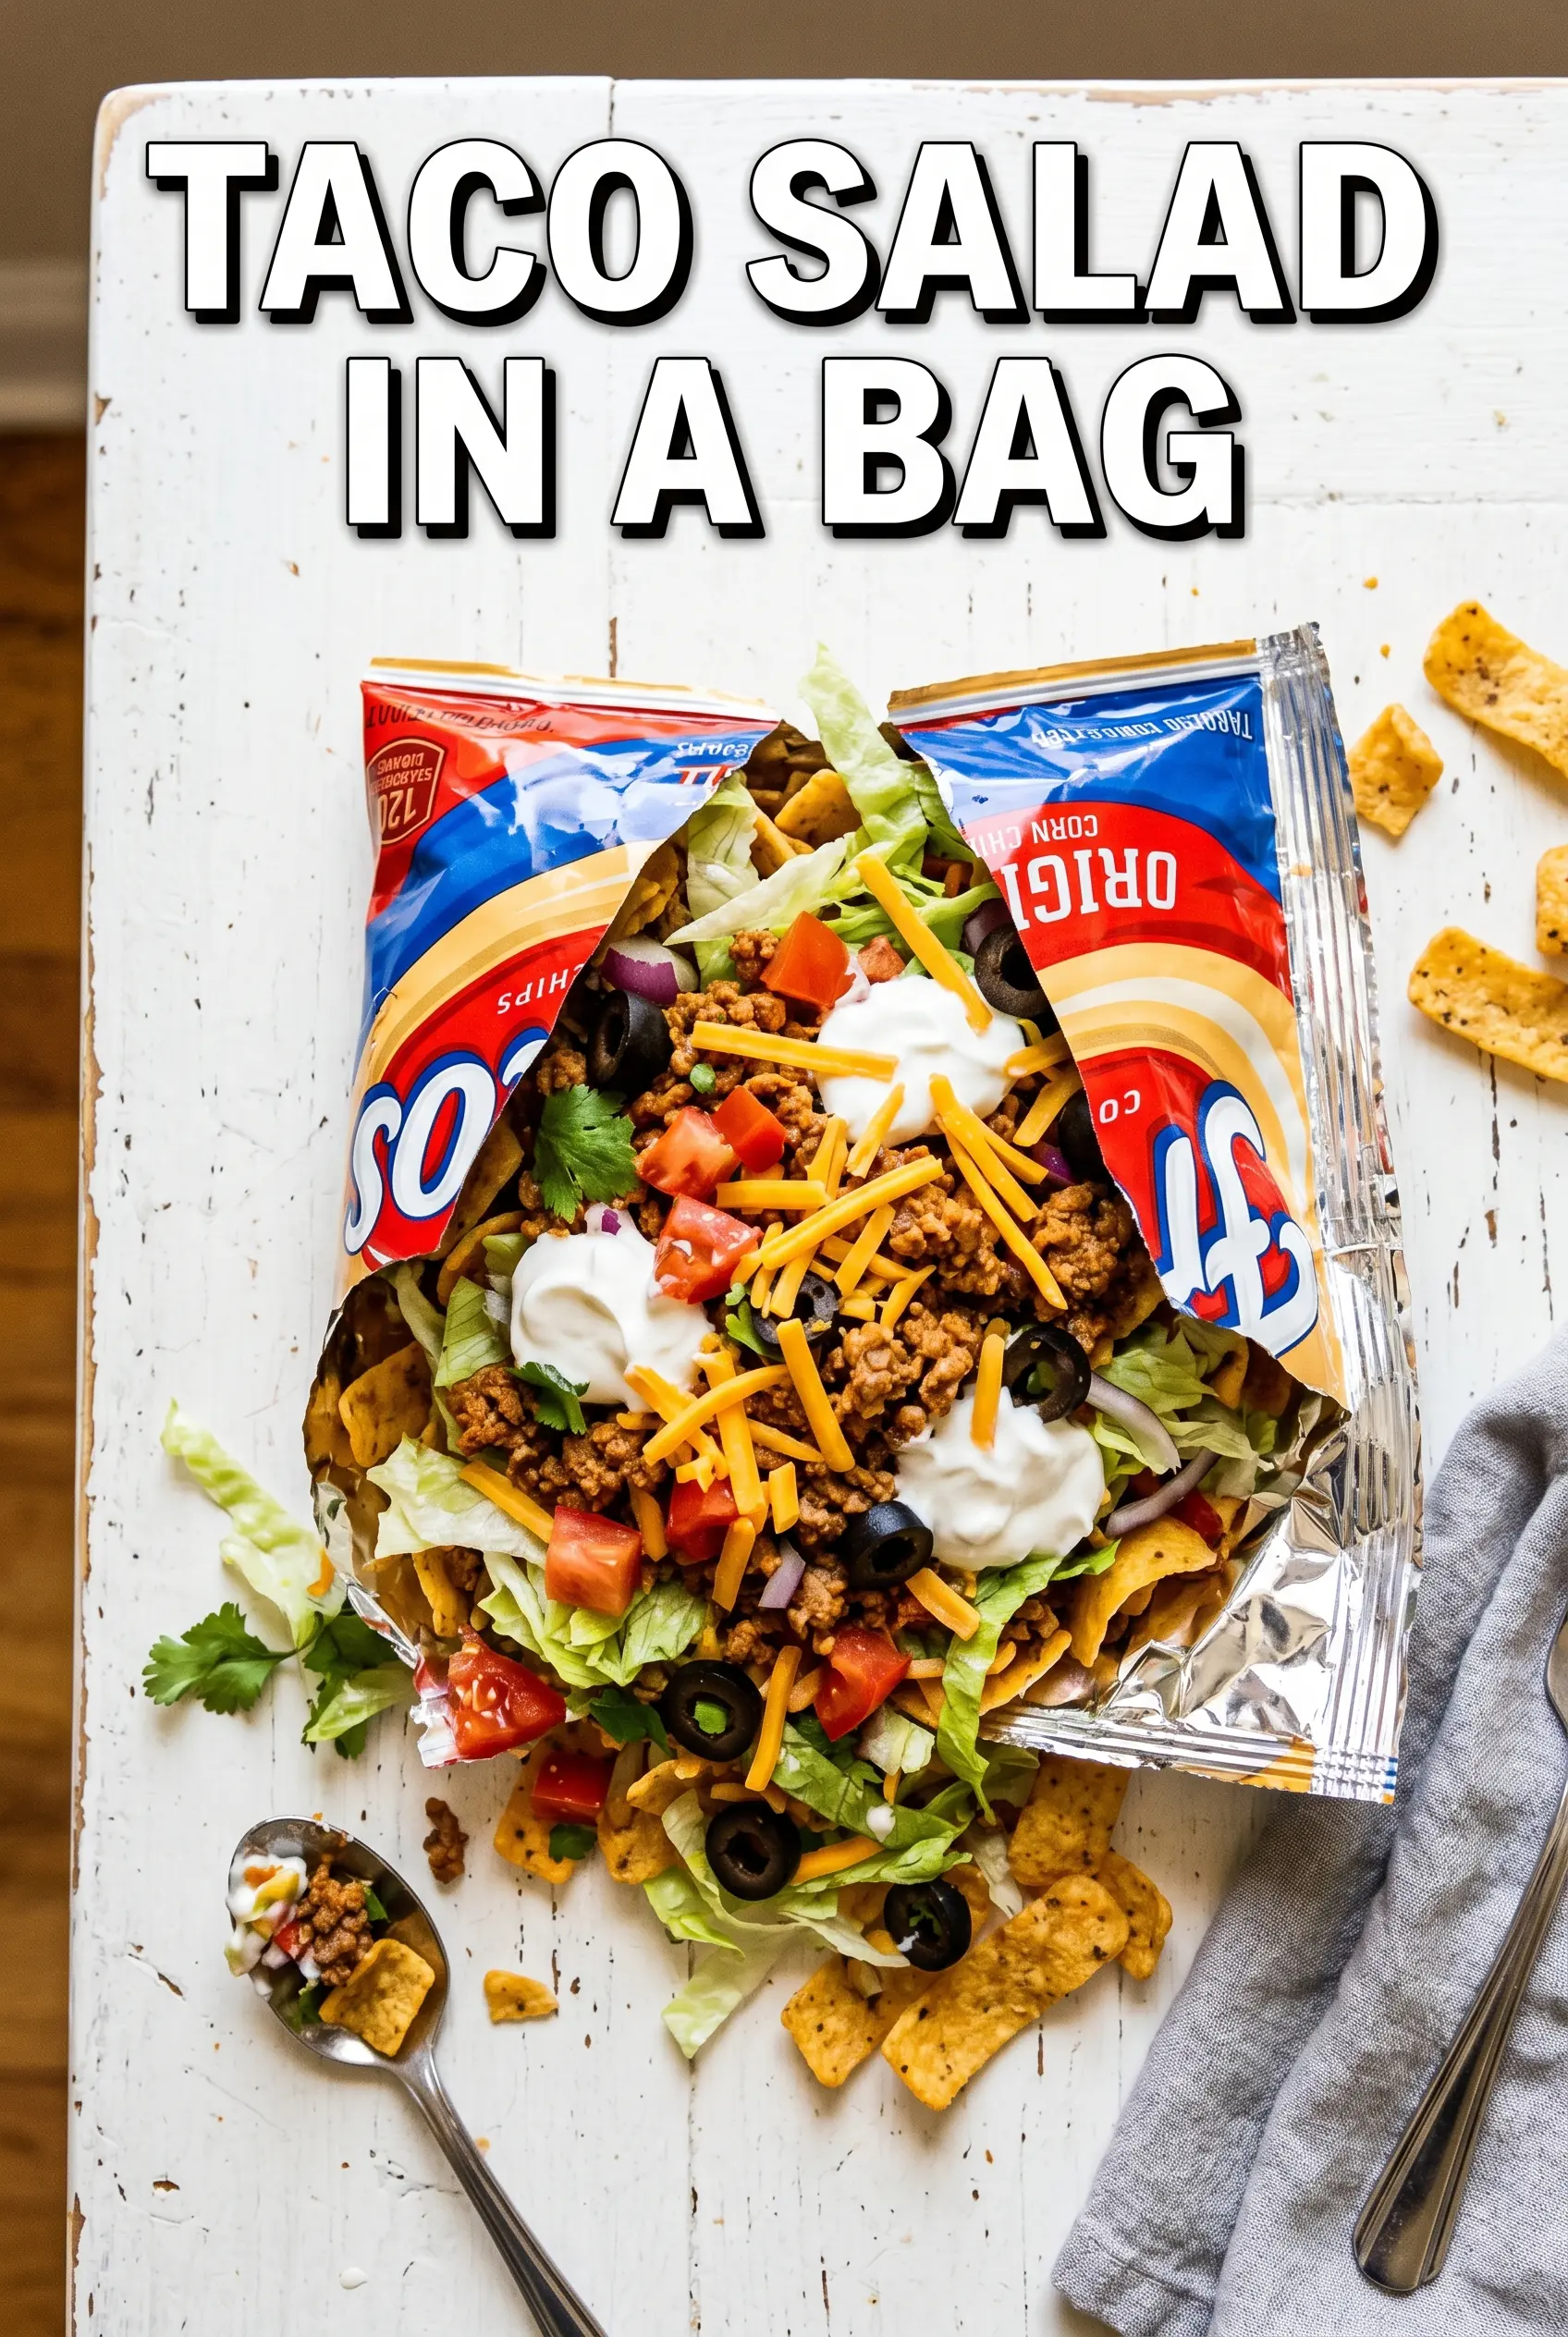
Taco Salad In A Bag
Ingredients
Equipment
Method
- Heat a cast iron skillet over campfire and cook the ground beef until browned, about 8-10 minutes. Season with taco seasoning until the meat is well coated and crumbled.
- Open each individual chip bag by cutting along the top or side. Keep the bag upright so layers stay inside.
- Add cooked taco meat to each bag, portioning evenly. Fill to the bottom layer so every bite gets meat.
- Layer shredded lettuce over the taco meat in each bag. Add enough to create a crisp, leafy layer between toppings.
- Sprinkle shredded cheese over the lettuce in each bag. Cover the lettuce so it’s visible at the edges only.
- Add diced tomatoes on top of the cheese in each bag. Distribute evenly without packing down.
- Top each bag with sour cream in small dollops. Aim for a few spoonfuls per bag so it doesn’t flood the chips.
- Spoon salsa over the sour cream and tomatoes. Use a light pour so the bag stays crunchy longer.
- Finish with sliced black olives on top. Serve immediately for best texture.
- Eat directly from the bag with a fork. Layering keeps the toppings separated while you dig in.


