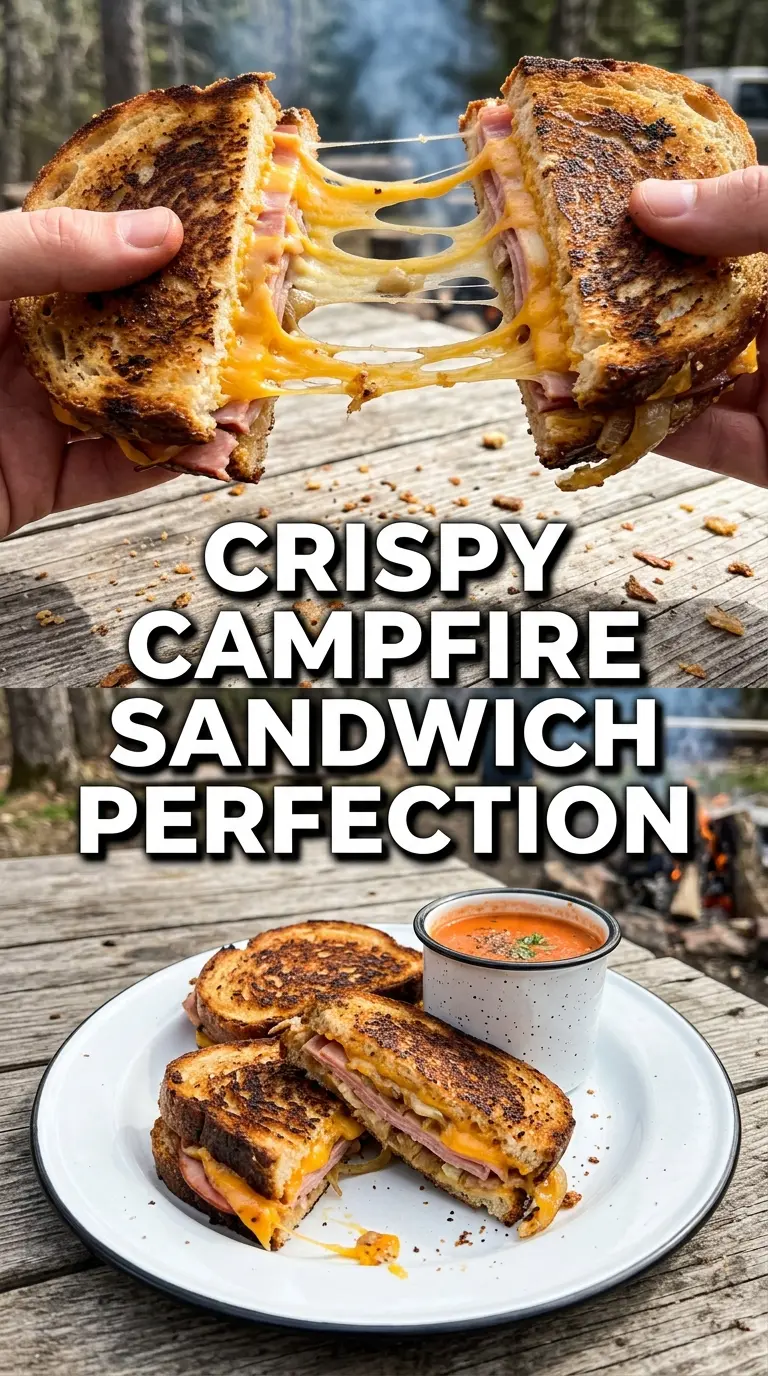
Golden, crisp bread with melted cheese and smoky ham tucked inside makes a campfire sandwich one of the easiest meals to get right over open flame. The trick is keeping the heat steady enough to toast the outside before the cheese gives up and runs everywhere, and this version is built to do exactly that.
Butter on the outside of the bread gives you that deep, even browning without needing a skillet, and stacking cheese on both sides of the fillings helps glue the sandwich together as it heats. A little mustard or mayo is optional, but the real win here is balancing sturdy bread, a moderate fire, and enough fat on the outside to protect the toast.
Below, I’ll show you how to keep the sandwich from burning before the center warms through, which cheeses melt best at the fire, and a few easy swaps if you’re packing this for the campsite with what you already have.
The bread got perfectly crisp over the grate and the cheese melted all the way through without the outside burning. I’ve made camp sandwiches for years, and this was the first one that actually held together when I cut it.
Love the crisp, melty campfire sandwich? Save it to Pinterest for your next outdoor lunch or easy fire-cooked dinner.
The Part Most Camp Sandwiches Get Wrong: Too Much Heat, Too Fast
A campfire sandwich fails in the same way a grilled cheese fails: the bread colors before the center has time to melt. Over open flame, that problem gets worse because the heat is uneven and the grate can have hot spots that scorch one side while the other is still barely warm.
The fix is a medium fire, not a roaring one. You want steady heat licking at the bread, not flames jumping through the grate. Buttering the outside gives you a buffer, and the cheese belongs both above and below the ham and turkey so the fillings stay tucked in as the sandwich warms. If your fire is running hot, move the grate higher or wait until the flames have calmed down; that small pause saves the sandwich.
What Each Layer Is Doing Between the Bread
- Bread — Use a sturdier sandwich bread if you can. Thin, soft bread tears once the cheese starts melting and the sandwich gets floppy. White bread works, but sourdough or a hearty sandwich loaf holds up better over the grate.
- Butter — Softened butter spreads evenly and gives the best golden crust. Melted butter tends to soak in unevenly, which can leave patchy spots that burn before the rest crisps.
- Cheese — Cheddar brings sharper flavor, while Swiss melts a little smoother and milder. If you want the sandwich to hold together, put cheese on both sides of the meat so it acts like glue when it softens.
- Ham and turkey — The deli meat here is already cooked, so you’re really warming it through and getting it hot enough to pair with the melted cheese. A thicker slice adds more chew; thin slices make the sandwich easier to bite and less likely to slide apart.
- Mustard or mayo — Optional, but useful. Mustard adds brightness against the rich cheese, and mayo gives a softer, slightly more even browning if you spread it thinly instead of butter on one side. Don’t use both unless you want a heavier sandwich.
Getting the Sandwich Hot Without Burning the Bread
Building the Outside
Butter one side of each bread slice all the way to the edges. That edge coverage matters because exposed corners are the first places to dry out and burn over fire. Place the buttered sides facing out so they hit the heat directly, and build each sandwich with cheese on the outside of the meat stack as well as in the middle. That layered cheese helps lock the filling in place once it begins to melt.
Working the Grate
Set the sandwiches on a clean campfire grate over medium heat. You should hear a gentle sizzle, not an aggressive crackle. If the fire is flaring up underneath, wait a minute before you start; flames will char the bread before the cheese has a chance. Grill for 4 to 5 minutes on the first side, then flip carefully with a spatula and cook the second side until both sides are evenly golden and the cheese looks soft at the edges.
Cutting and Serving
Take the sandwiches off the grate as soon as the bread is deeply toasted and the cheese is melted. If you hold them over the fire too long after that point, the bread keeps cooking and the crust turns dry. Let them sit for a minute before cutting so the cheese settles instead of spilling out immediately. A sharp knife gives the cleanest cut, especially if you’ve stacked the fillings generously.
Small Changes That Still Give You a Good Fire-Cooked Sandwich
Make It Vegetarian
Skip the ham and turkey and build with sliced tomato, sautéed mushrooms, or thick avocado if you’ve got a cooler handy. You lose the salty deli-meat bite, so lean on a sharper cheese and a little mustard to keep the sandwich from tasting flat.
Use Gluten-Free Bread
A sturdy gluten-free sandwich bread works here, but it usually browns faster and breaks more easily, so keep the heat a touch lower and handle it gently when flipping. Choose slices that are already baked toasting-style if you can; the flimsy sandwich loaves tend to split once they warm.
Swap in Different Cheese
Mozzarella gives you a softer pull, provolone melts smoothly, and pepper jack adds a little heat. Avoid very hard cheeses on their own because they soften more slowly and can leave you with browned bread before the center is fully melted.
Storage and Reheating
- Refrigerator: Wrap leftovers and refrigerate for up to 2 days. The bread softens after sitting, so expect less crunch than when it first comes off the grate.
- Freezer: I don’t recommend freezing this sandwich once it’s cooked. The bread gets soggy after thawing and the cheese texture turns a little grainy.
- Reheating: Rewarm in a skillet over low heat or back on a grate with the lid nearby to hold gentle heat around it. High heat dries out the bread before the center warms, which is the fastest way to end up with a burnt outside and a cold middle.
Answers to the Questions Worth Asking
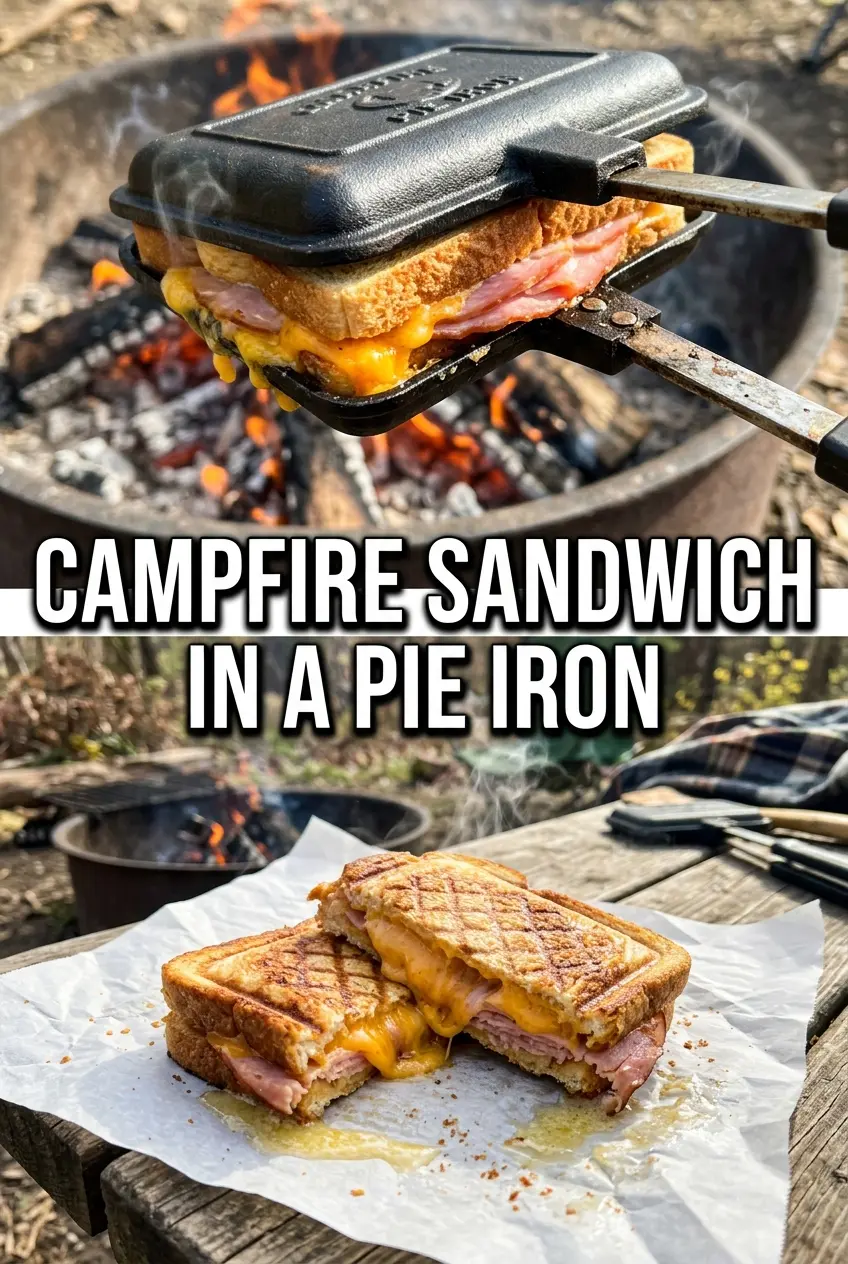
Campfire Sandwich
Ingredients
Equipment
Method
- Butter one side of each bread slice so the exterior browns and crisps on the grate.
- Build sandwiches with butter-side out: bread, cheese, ham, turkey, cheese, bread for a melty, layered interior.
- Place sandwiches on a campfire grate over medium heat and grill for 4-5 minutes per side until bread is golden and cheese melts, watching for clear grill marks.
- Remove from heat, cut in half, and serve hot when the cheese pulls slightly at the cut edge.


