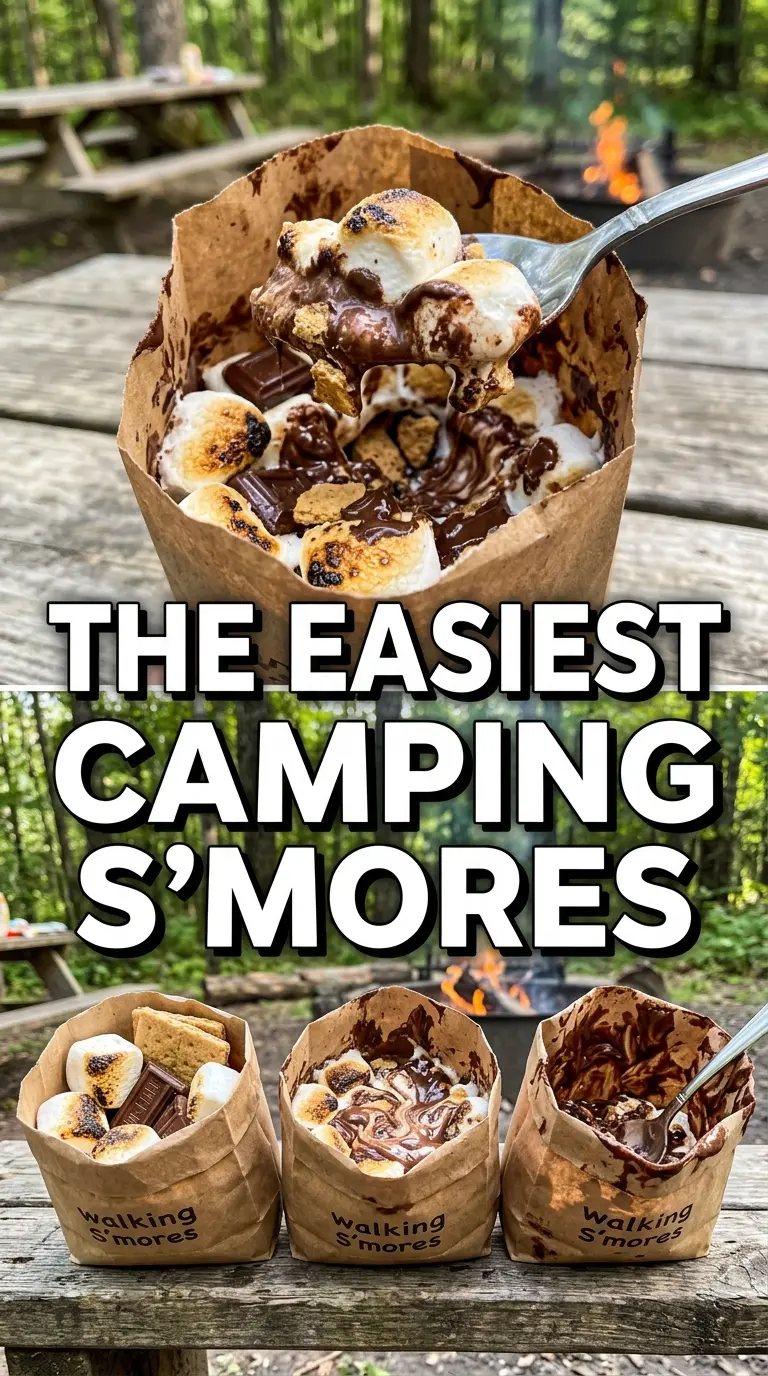
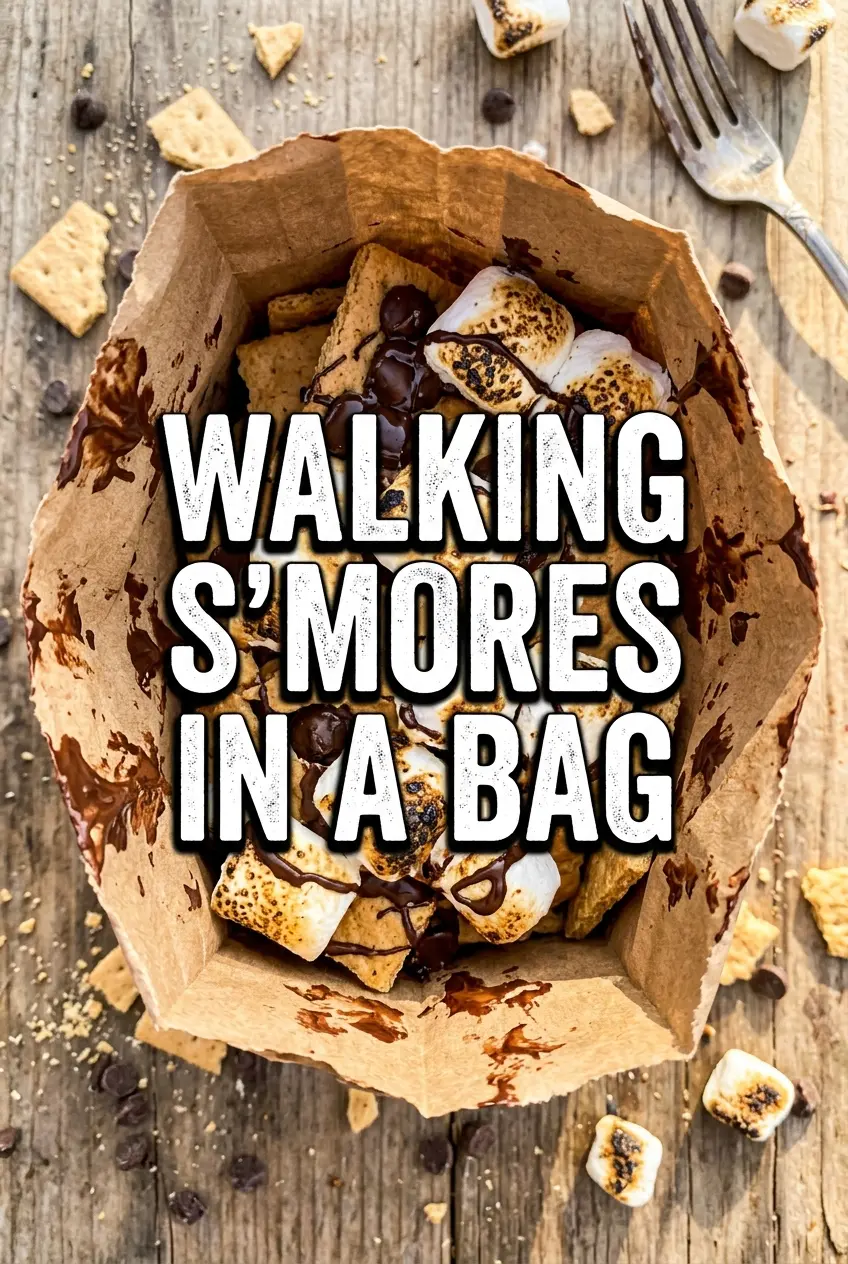
Walking s’mores hit that campfire-dessert sweet spot where the chocolate turns glossy, the marshmallows go soft and sticky, and the cereal stays just sturdy enough to keep everything spoonable. It’s the kind of snack that disappears fast because it tastes like a full s’more without the juggling act of graham crackers slipping into the fire.
What makes this version work is the balance inside the bag. The cereal gives you crunch and a little cinnamon-honey backbone, while mini marshmallows and chocolate chips melt together into something that clings to every piece instead of pooling at the bottom. The trick is heat, not flame. Warm the bags near the campfire, rotate them often, and you’ll get a gooey center without scorching the chocolate or turning the bag brittle.
Below you’ll find the timing that keeps the marshmallows soft but not blown apart, plus a few smart swaps if you’re packing for a crowd or making these without a fire pit.
The chocolate melted evenly and the marshmallows got perfectly gooey without turning into a burnt mess. My kids loved shaking the bags and eating them right out of the package.
Save these walking s’mores for campfire nights when you want melted chocolate, gooey marshmallows, and zero mess from broken graham crackers.
The Part That Keeps the Chocolate Melted Instead of Burned
Walking s’mores only work if the bags get warm, not toasted. If you set them too close to the flames, the chocolate can seize up, the marshmallows puff unevenly, and the bag can get brittle before the center melts. Gentle heat is what softens everything at the same pace.
The other thing that trips people up is overfilling the bags. When there’s too much candy inside, the heat can’t move through the cereal evenly, so you end up with hot edges and a cold middle. A modest handful of marshmallows and chocolate chips melts faster and mixes better after a quick shake.
- Golden Grahams cereal — This gives you the closest thing to graham-cracker flavor without needing actual crackers. Any similar cinnamon-honey cereal works if that’s what you have, but the result will be a little less classic and a little more generic.
- Mini marshmallows — Mini marshmallows melt fast and evenly, which matters here. Large marshmallows can work, but they take longer and tend to stay stretchy in the middle while the edges go sticky.
- Chocolate chips — Chips are sturdy enough to carry to the fire and melt into little pockets of chocolate. Semi-sweet gives the best balance against the sweet cereal and marshmallows, but milk chocolate makes this taste closer to a traditional s’more.
- Snack-size bags — The bag is part of the method, not just the container. It traps heat and makes serving simple, but it needs to be loosely sealed so steam can escape and the plastic doesn’t over-soften.
What Each Ingredient Is Actually Doing in This Campfire Dessert
- Sugar or sweetener (the flavor and texture) — Sugar caramelizes and browns the dessert while adding sweetness. Proper caramelization creates depth, not just sweetness.
- Chocolate (the richness and comfort) — Good chocolate makes the dessert luxurious. Lower-quality chocolate tastes waxy and doesn’t melt as smoothly.
- Butter (the binding and texture) — Butter keeps desserts tender and moist. It also carries vanilla and spice flavors throughout.
- Eggs or binding agent (the structure) — These create texture and help the dessert hold together. Proper ratios are important or the dessert can be too dry or too dense.
- Flour or crust (the foundation) — A proper crust or base keeps the filling contained and provides textural contrast to soft, rich fillings.
- Vanilla or spices (the aromatics) — These add complexity and prevent the dessert from tasting one-dimensional. They should complement the main flavor, not compete with it.
- Careful fire management (gentle, indirect heat) — Desserts need lower heat than savory dishes. High heat burns the outside before the inside cooks through.
- Rest time (letting it cool slightly) — Warm desserts are comforting, but letting them cool for a few minutes helps them set and makes them easier to serve without falling apart.
Warming the Bags So Everything Melts at the Same Time
Filling the Snack Bags
Open each cereal bag carefully and leave the cereal inside. Add the marshmallows and chocolate chips right on top so the heat can reach them first. If you dump in too much filling, the center won’t melt before the bag cools down again, so keep the portions even.
Heating Near the Fire
Set the bags near the campfire, not in the flames and not on hot coals. Rotate them every minute or so so one side doesn’t overheat while the other stays cold. You’re looking for softened marshmallows and chocolate that looks shiny and slightly slumped, not fully bubbling or scorched.
Mixing Inside the Bag
Once the chocolate and marshmallows have softened, gently shake the bag to coat the cereal. If the pieces still look firm, give it another minute near the heat before mixing. Stirring too early just crushes the cereal and leaves you with clumps instead of that gooey, spoonable texture.
Eating Before the Crunch Fades
Eat them right away while the chocolate is still warm and the cereal still has some bite. As the filling sits, the cereal softens and turns more like a dessert mix than a crisp camp snack. A spoon helps if you want to scrape up the melted chocolate at the bottom of the bag.
Make It With Different Cereal
Cinnamon cereals and honey-style squares work best because they echo a graham cracker. If you use a plain cereal, the dessert gets sweeter but loses that s’mores-like backbone.
Dairy-Free Version
Use dairy-free chocolate chips and check that your marshmallows are dairy-free if needed. The texture stays the same, and you still get the same melty, campfire-style finish.
Make a Bigger Batch for a Crowd
Set up the bags assembly-line style before you head outside, then warm them in small groups. Crowd-sized batches work better when you keep the heat gentle and consistent, because packed bags take longer to soften through the middle.
Storage and Reheating
- Refrigerator: Best eaten right after making. If you chill leftovers, the chocolate firms up and the cereal loses its crunch.
- Freezer: Not a good freezer dessert. The marshmallows turn odd and the cereal softens after thawing.
- Reheating: Warm leftovers briefly near low heat or at room temperature until the chocolate softens again. Don’t microwave the bag; the cereal turns soggy fast and the bag can warp.
Questions I Get Asked About This Recipe
Walking S'mores
Ingredients
Method
- Carefully open each snack-size bag of Golden Grahams cereal without removing the cereal.
- Add mini marshmallows and chocolate chips to each bag so they are distributed throughout the cereal.
- Seal the bags loosely or roll down the top, then place bags near (not directly on) campfire heat for 3-5 minutes while rotating occasionally.
- Warm the bags until the chocolate and marshmallows visibly soften and melt, indicating it’s ready to eat.
- Gently shake each bag to mix the melted chocolate and marshmallows through the cereal.
- Eat immediately with a spoon or directly from the bag while it’s warm and gooey.


